Editing
Remove sensor dust in seconds with Lightroom

If you’ve ever opened a photo and noticed tiny, annoying dots scattered across the sky or background, you’re probably looking at sensor dust. It happens to all of us—and thankfully, Lightroom Classic now has a quick way to clean them up without manually cloning every spot.
Step-by-Step Guide:
- Open your image – Head to the Develop module and choose the photo with the dust spots.
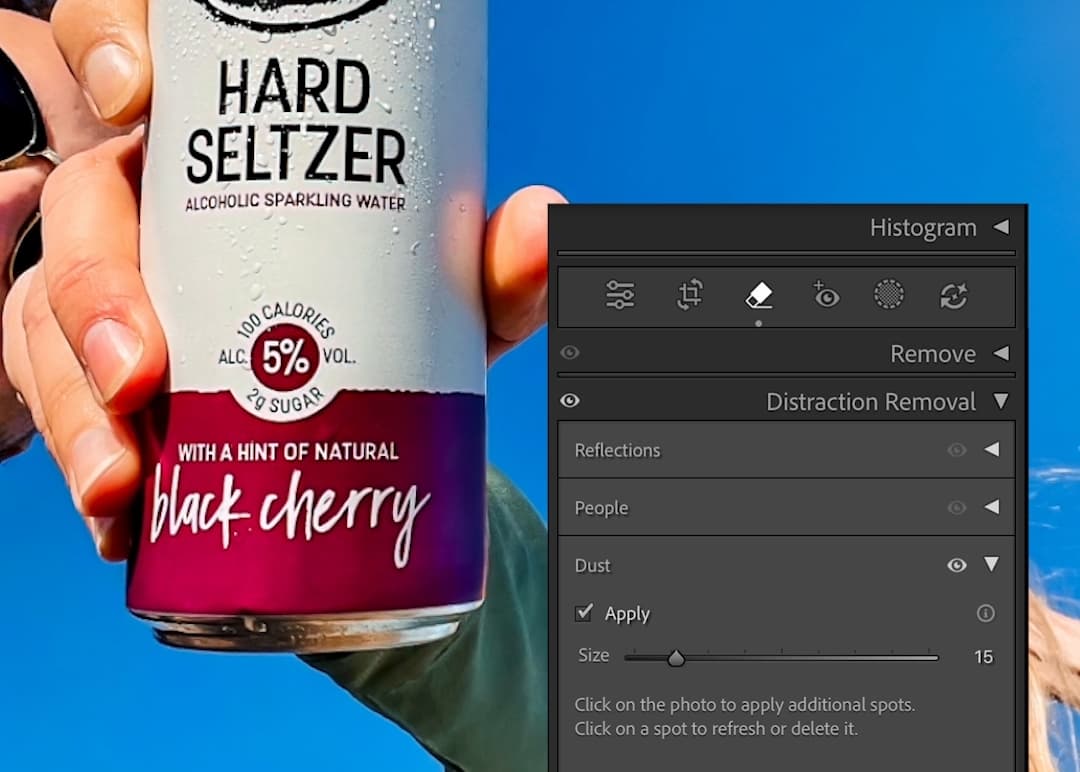
- Access the Removal Tool – Open the Distraction Removal panel and pick “Dust” from the dropdown, or simply click the Remove tool.
- Run the AI Detection – Hit Apply and let Lightroom scan your image for dust spots. You can still click to add any spots it missed or tweak the Size slider for better detection.
- Fine-tune the cleanup – Check the areas Lightroom flagged. If it marked something incorrectly, just select it and hit Delete (or the trash icon). You can also run the detection again if you want Lightroom to take another pass.
A quick dust clean-up can make your edits look instantly more polished. Try this tool on your next batch of photos and see how much cleaner your final images turn out.
[#cta]
Before and After


Share this article


%20(1).png)
%20(1).png)


