Quickest way to change the color of anything in Photoshop


Ever want to change an object's color after a shoot? Maybe you're unhappy with the final color or it's the same product and they come in multiple shades but you want to maintain the same composition of the image.
Whichever it is, here's one of the quickest ways to adjust the color of an object with the help of, you guessed it—Photoshop!
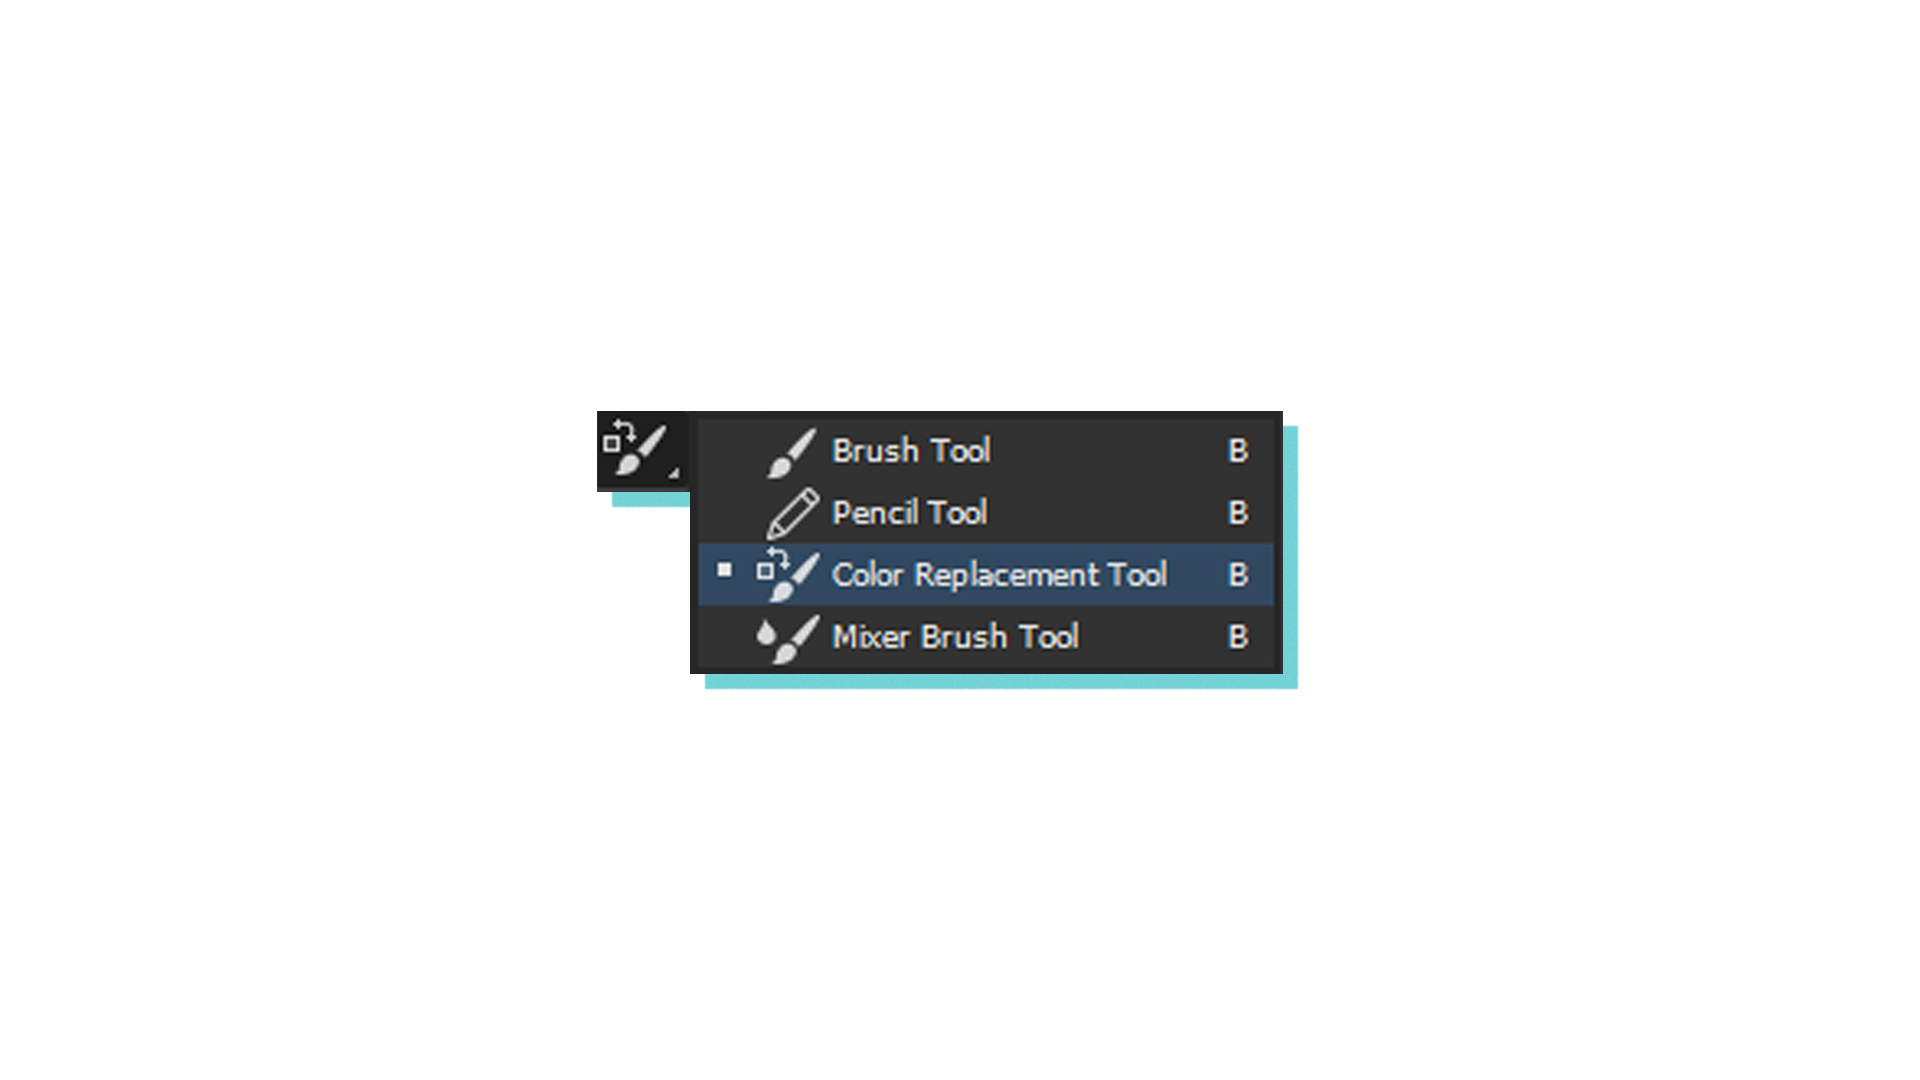
Introducing the Color Replacement Tool
The Color Replacement Tool will be used for this tutorial. It works by sampling the original colors and replacing them with the color of your choice. This awesome tool also maintains the shadows, midtones and highlights of the object so you don't have to worry about them. Let's jump right in!
Select the area or object
You can use any selection tool that suits best. For this tutorial, we used the Quick Selection Tool. Drag the selection around the area or object that you want to recolor. This will create a boundary around the area.
[#cta]
Changing the color
Using the Color Replacement tool is as easy as ABC. Simply select the Color Replacement Tool from the left toolbar then pick a color you want to replace with in the top right Color Palette. Next, simply paint the color in the area you have selected earlier.
Try it out for yourself
This technique is great for product photography when you need to adjust the packaging color or only have one item to shoot. You can create an entire range with this simple edit!


%20(1).png)
%20(1).png)


