Learn these composition techniques to improve your food photography


You’ve got your delicious food cooked, styled, and ready to be photographed, your props, and your backdrops and you are ready to shoot. Good. The only thing left to master is the technique (or should we say 'art'?) of composition.
Challenging as it may sound, there are a few golden rules to follow (and then break at will) that will help you create beautiful food compositions every single time.
Let’s dive into the world of food photography and ratios!
The Rule of Thirds
This a great rule or guideline, to get you started. Enhance the impact of your food photography with the simplest and most popular, compositional rule of thumbs.

How to compose your photo using the Rule of Thirds
Break down your frame in 9 equal squares and align the most important element of your photo along these lines.


TIP: Most cameras will overlay a grid for you. Go to the main menu and check the settings. When shooting in live view mode, you can display a grid on the monitor.
Why you should go for it:
- It’s the easiest compositional theory to understand and master
- It can be applied to all frames and work every time.
- It draws the eye to the elements you wish to enhance visually.
- The result looks natural and effortless.
- It creates visual balance.
- Most cameras will overlay a grid for you.
- You can implement the technique while editing with a little bit of cropping
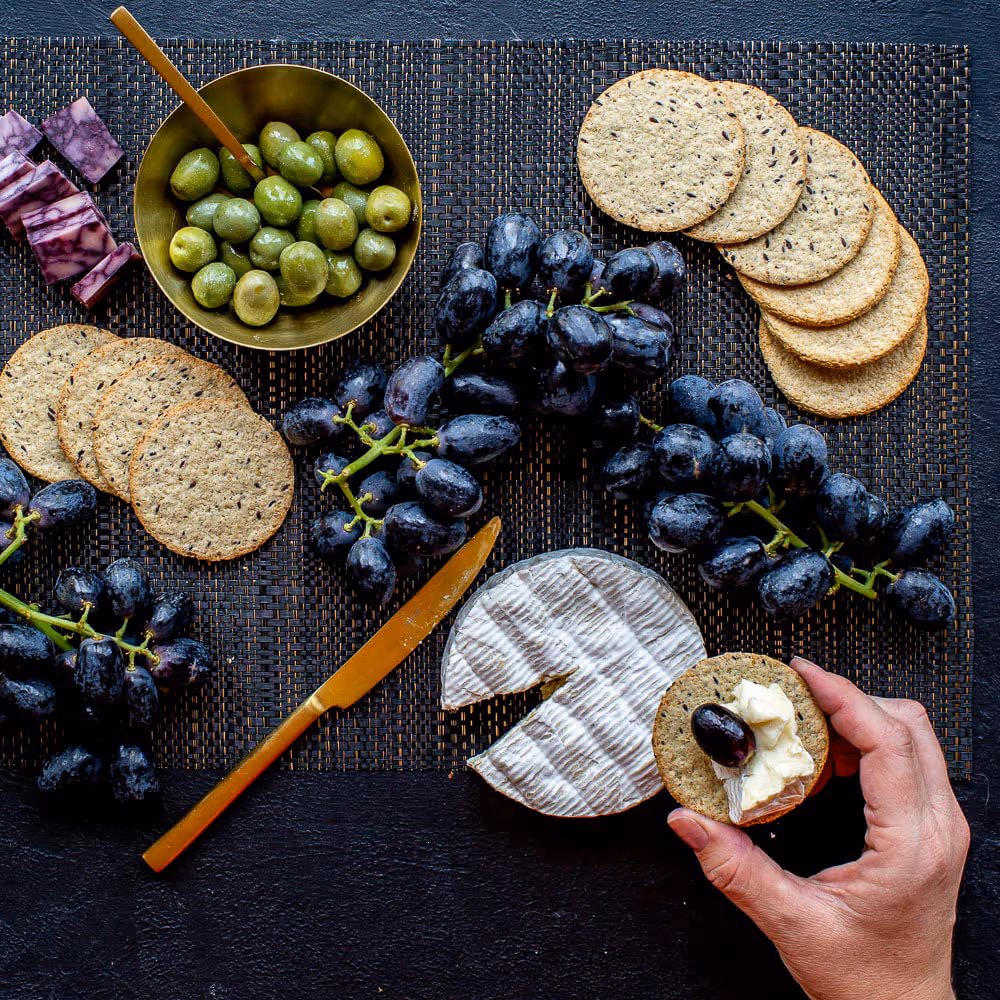
The Fibonacci Spiral | The Golden Ratio
The Fibonacci Spiral is a powerful approach for food photography that creates a harmonious effect. Don’t let the name scare you. You have probably heard people talking about the golden ratio; the two are entwined and defined by the same mathematical sequence. But fear not, we will not be doing math today.
How to compose your photo using the Golden Ratio
The easy way to comprehend and apply the spiral to your food photography is to think of it like a snail. The snail motif creates a visual path through the frame, leading the eye to focus on the most important element of the picture. So, when you arrange the food on a surface, visualize the spiral and gather the elements that are the central point of focus towards the spiral. The other end of the line will gravitate towards the negative (or the empty and less cramped) space of the image, providing a comforting and aesthetically pleasing natural balance to the frame.
.avif)

TIP: You could even implement a helpful overlay in Adobe Lightroom that will help you practice and make sure you have a good grasp of the technique. Type the letter O key when you are cropping your image to turn on the overlay and keep hitting the O key until you find the golden ratio! I wish I knew about this when I was starting out!
Why you should go for it:
- It’s a pattern that shows up in nature, hence the human eye finds it soothing and pleasing.
- It creates proportional harmony and balance.
- It's a simple pattern with complex optical results.
- It allows enough room for negative space making the focal point more impactful.
- Instead of dividing the frame, you create a flow within the image.
- You can use a simple Adobe Lightroom overlay to master the technique by pressing the letter O key when cropping.
[#cta]
The Triangle Method
This is a formula where you create a few triangles within your shot and set the focal point within those triangles. In a way, you create a frame within your frame to highlight your subject.

How to compose your photo using the Triangle Method
Divide your frame into two segments diagonally. Starting from the two empty corners that are now formed, draw two lines that will be perpendicular – 90 degrees, to the first line you drew.
This are the golden triangles and now all you have to do is simply build the core layout of the frame inside one or two of these triangles


TIP: When using the triangle method experiment with bokeh! Set your camera lens to the lowest aperture and adjust the focal length to create an interesting depth of field as you blur the out-of-focus parts.
Why you should go for it:
- You avoid the risk of your image looking static.
- By adding one or two focal points you direct the eye as exactly where to focus.
- It allows you to unfold story-telling through the image.
- It allows you to work with the placement of the main subject in relation to the other objects or elements that are present in the frame.
- It leaves room for negative space to ensure balance.
The ‘S’ Curve.
The human brain craves curves. They are soothing, sleek, and draw attention. Curved surfaces create a fluidity, so to speak, that softens the image’s impact and help the main subject of your photograph meld into the surrounding elements or backdrops. So following an ‘S’ shape within your frame triggers relief and comfort in the viewer’s brain, making them look at the image for a longer period of time, taking in all the details.

How to compose your photo using the 'S' Curve technique
Split the composition into two sections by imagining the letter S running through the entire image from top to bottom. Array the basic elements of your image along that curved line, allowing negative space to surround the curves.
.avif)

TIP: Think both horizontally and vertically as you are filing your frame to direct the viewer's attention equally, without staring on one certain fragment of the image. Use ingredients such as spices on repeat to surround the main dish and create the curvy lines.
Why you should go for it:
- It’s emotionally and visually satisfying as it triggers the brains' pleasure center.
- It delivers an artful result.
- It adds depth and dimension to the image.
- It holds the viewer’s attention longer.
- It lets you utilize and/or repeat all the desired elements of the image in a single frame.
As with everything in life, the important thing is to unleash your creativity and get inspired by everyday objects.
So which ratio rule is right for you?
I don’t like using the word ‘rules’ too much, I would rather say ‘guidelines’ as they exist to help you develop your own style and not hinder your creativity in any way.
Before you start shooting think of the story you are trying to tell. Intentionally start mapping out the approach that you instinctively gravitate towards.
This will help you build the core layout of your photo in a more structured and mindful way without taking away the fun of shooting. If you are happy with the process and the final result, you probably are on the right track already!


%20(1).png)
%20(1).png)


