Learn a cool way to photograph your product frozen in ice
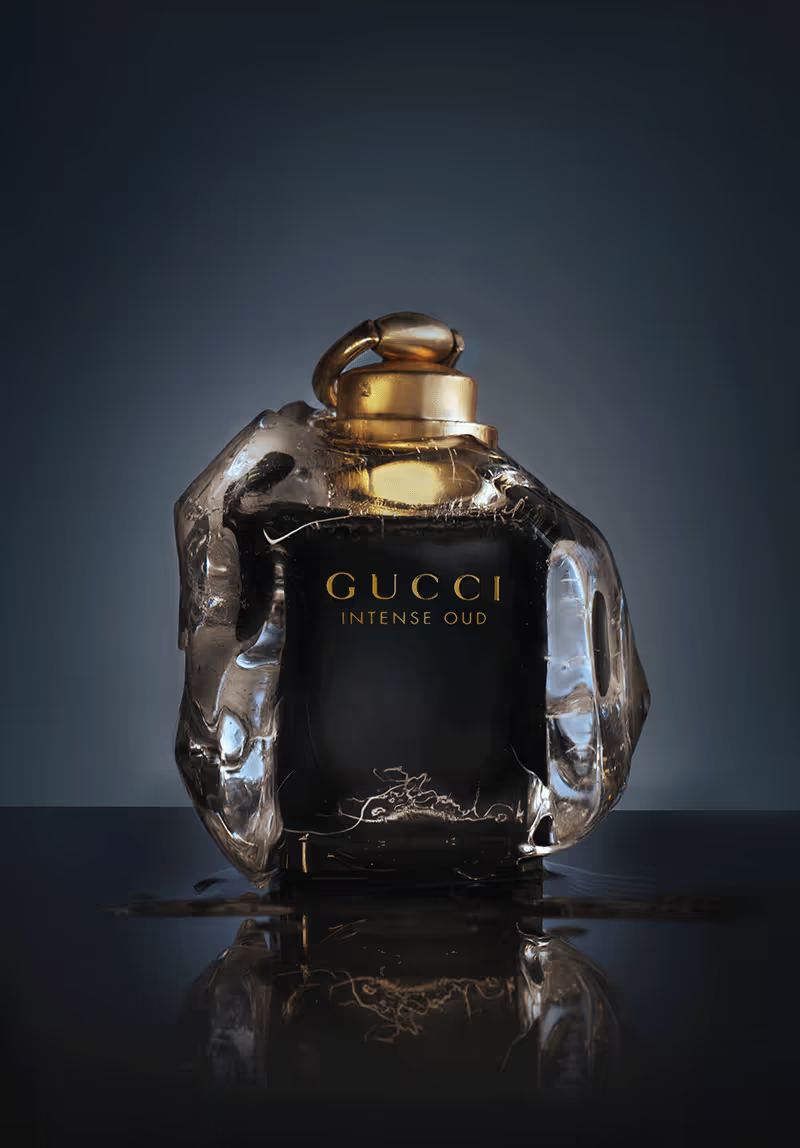
Out of ideas for your next product shoot? Why not add a unique twist to your product imagery by freezing it? This technique is extra effective for when you’re trying to communicate the icy cool fragrance of a perfume or perhaps a refreshing fruity beverage. It's an awesome way to let your viewers have a little feel, touch, or even taste of your product through your photo.
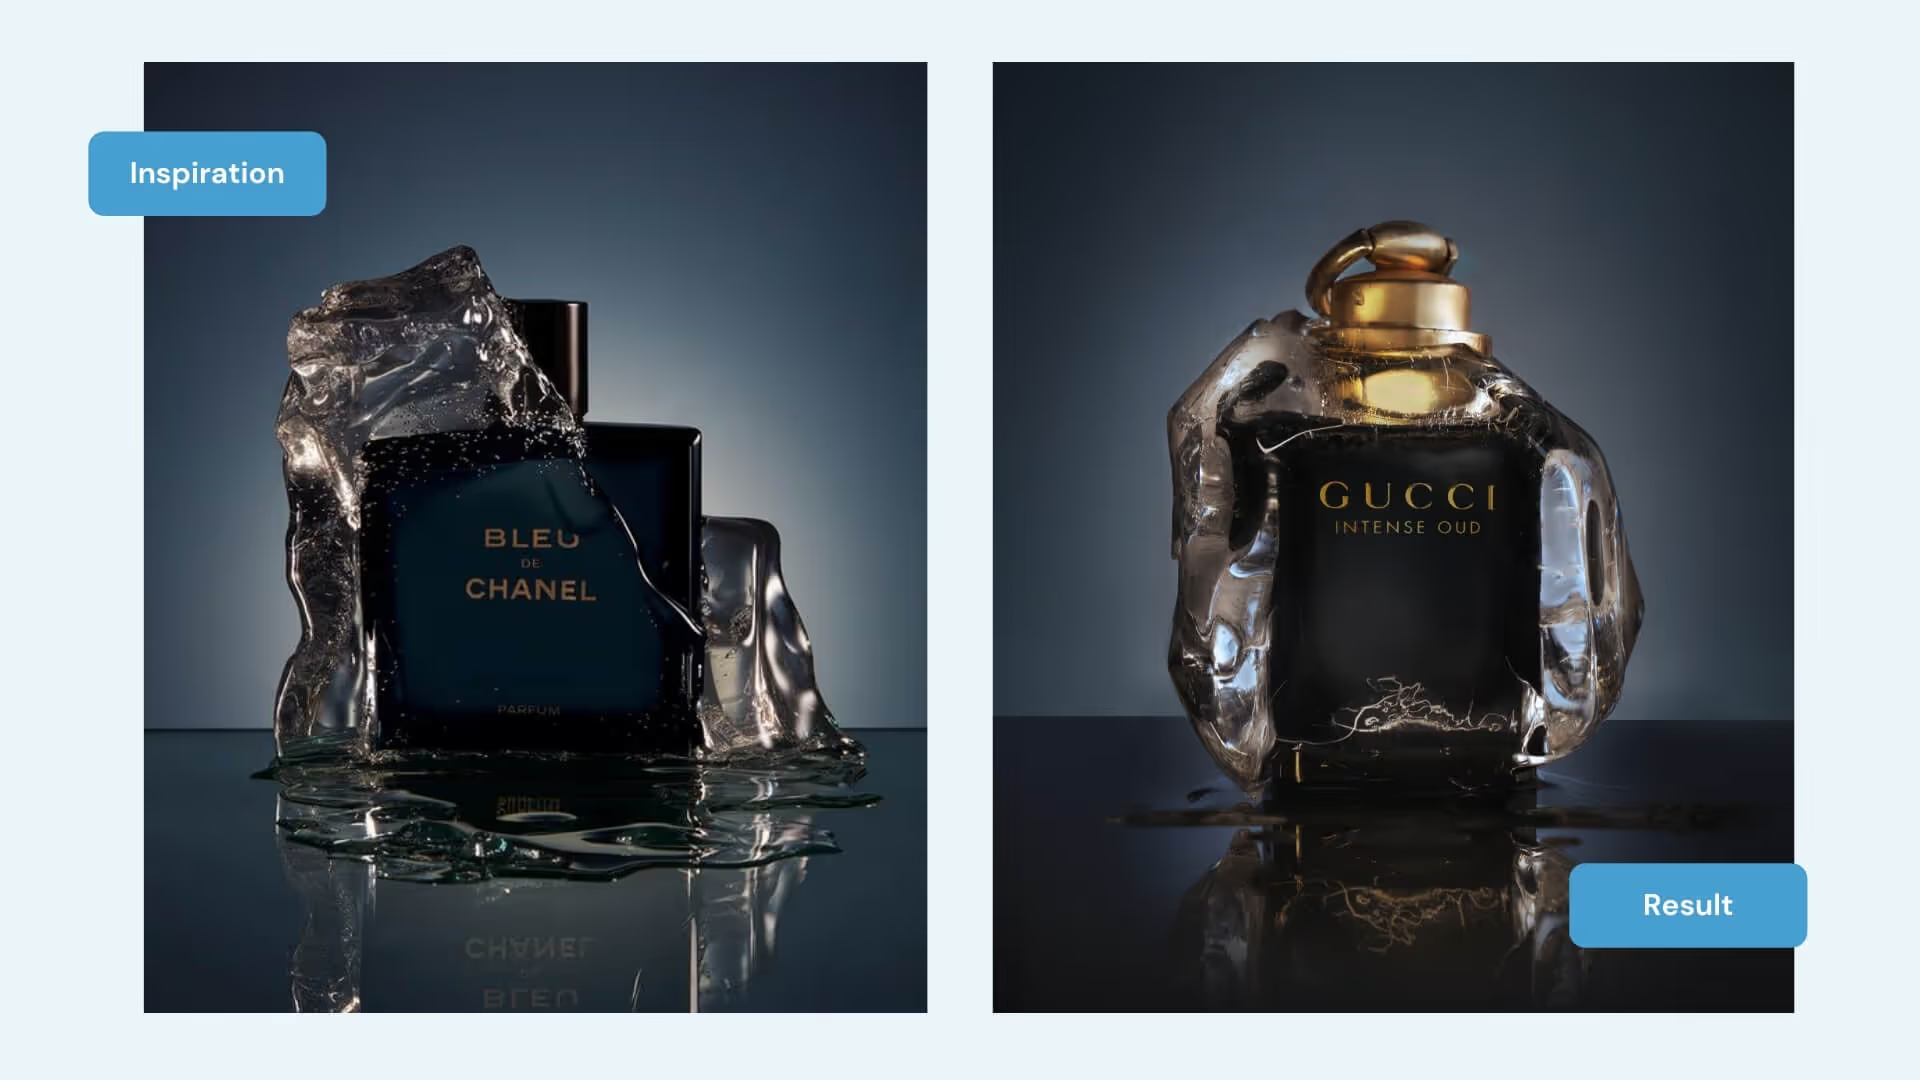
Inspiration images

As easy as it seems, this challenge is quite tricky! It takes time, patience, and the correct preparation to create the ice. If the freezing process isn't handled correctly you'll end up with cloudy or textured ice which limits the visibility of your subject.
To show us how to achieve the best results with this technique challenged Khushboo Soni (@mother.of.reinvention), a photographer from India, to show us how it's done!
Find out how she managed to pull off the frozen object photography effect without a hitch.
Props and materials
- Black paper to use as a backdrop
- Acrylic sheet to place underneath your subject
- Perfume bottle or product of your choice
- Insulated tiffin box
Camera and equipment
- Sony a7R IV
- Lens 24mm-70mm f/2.8
- Tube light for the bottle
- Continuous light to create a gradient background
Creating the ice
Khushboo discovered that insulated boxes work best to control the freezing process and produce clear ice. She placed the bottle facing upwards inside the box so that the label would be positioned where the ice would appear most clear.
Tip: Avoid using any regular containers for the freezing process. That is because the ice will start freezing in all directions—forcing air to get trapped in the center and create air bubbles, which make the ice cloudy. Unlike regular containers, using insulated boxes will allow the ice to start freezing from the top. This creates clear ice on top as the air bubbles get trapped at the bottom.
To add texture, she placed a crumpled plastic wrap on top of the ice to create a wavy pattern. Lastly, she elevated her bottle a little by placing plastic ice cubes at the bottom.
Preparing the setup
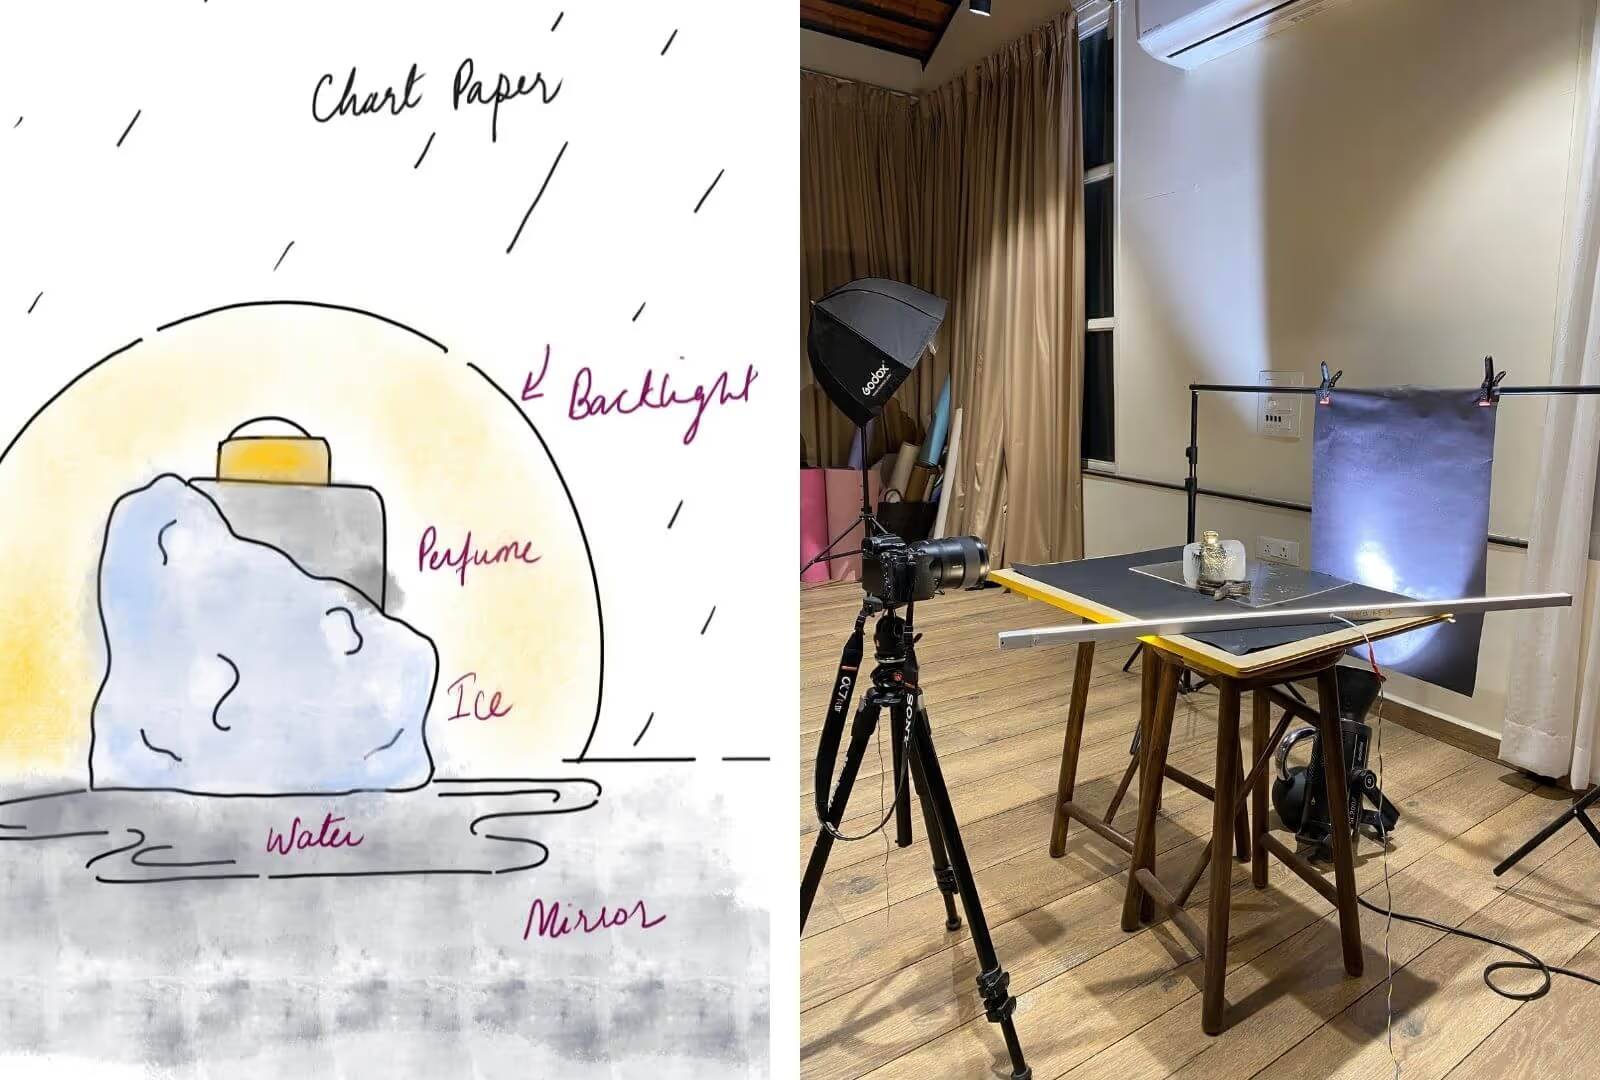
Black charts were used as the background and base of the setup and an acrylic sheet was placed to create the reflection effect. Khushboo placed the frozen bottle on top of the table setup and added a bit of water in the front to make it the same as the original photo.
For the lighting setup, she used a tube light to slightly illuminate the bottle and a continuous light facing the background to achieve the gradient effect.
Post-editing process
Khushboo further enhanced her photo using Photoshop. She adjusted the white balance to blue as the straight out of camera image was leaning more towards the yellow tone. Highlights, curves, and contrast were adjusted to add more light and drama to the image.
To fix the geometry of the photo, she corrected the distortion. Next, she used the radial filter to enhance the light of the bottle's reflection and add sharpness to the bottle's label.
She finished it off by using selective editing to adjust the curves, exposure, shadow, and clarity of some parts of the photo and by adding a vignette to create a more subtle frame for the subject.
Final image
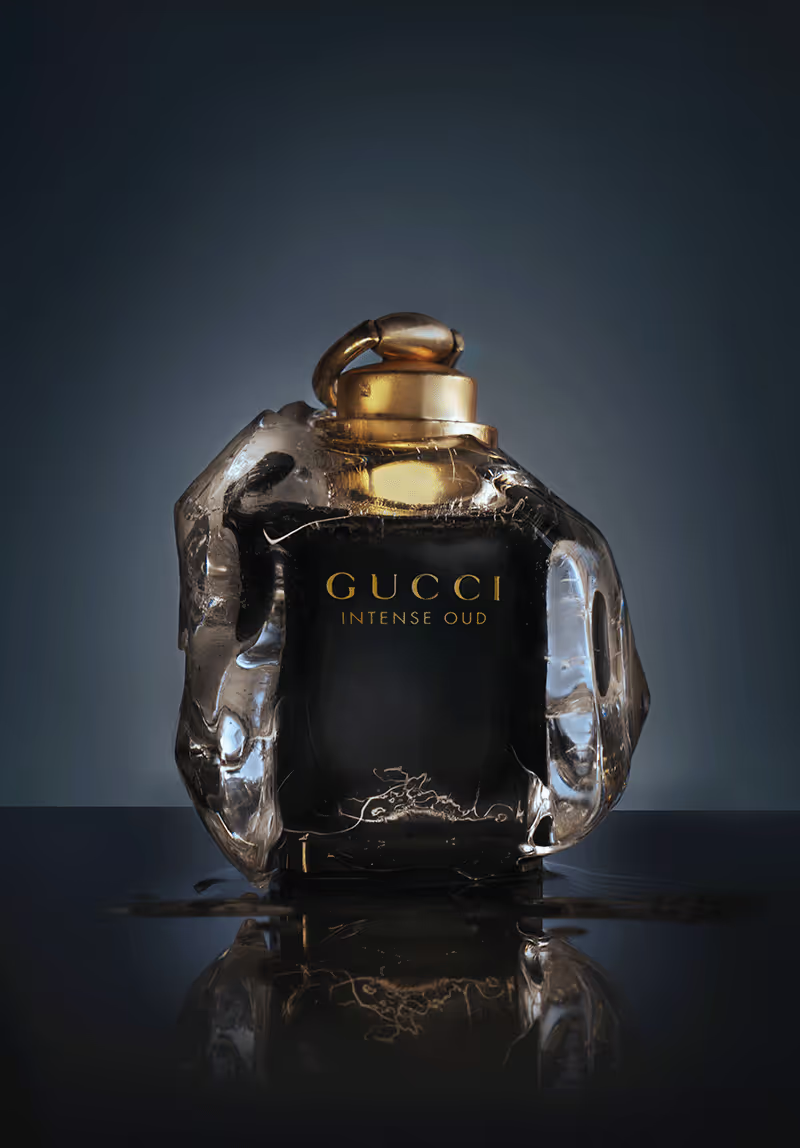
Check out Khushboo's own stunning version of the challenge!



%20(1).png)
%20(1).png)


