Invite movement to your cocktail photo with an animated garnish


Did you know you can easily add dynamic movement to your still photo right from Photoshop? Converting your favourite photos into videos is a great way to enhance your portfolio - and a compelling value add for your visual content clients!
In this tutorial we will be exploring how to add a simple rotating effect using timeline animation. For this tutorial you will need a basic understanding of Photoshop, layers and masking.
Isolate your garnish onto a new layer
Duplicate the background layer (CTRL+J) to create a copy of your image on a new layer. Next create a mask around the object that you want to animate. You can do this by drawing a path using the pen tool or with the quick select tool. You can also use 'Select and Mask' to refine the edge.
Convert your garnish layer to a smart object
This will make it easier to rotate in the next step. Simply navigate to Layer > Smart Object > Convert to Smart Object.

[#cta]
Time to Animate!
Enlarge the garnish layer slightly to completely cover the original item. Ensure your background layer is unlocked by double clicking the lock icon.
Turn your image into video by opening the Timeline panel and selecting 'Create Video Timeline'. You can drag the purple bars in or out to indicate how many frames you'd like and set the duration of your video.
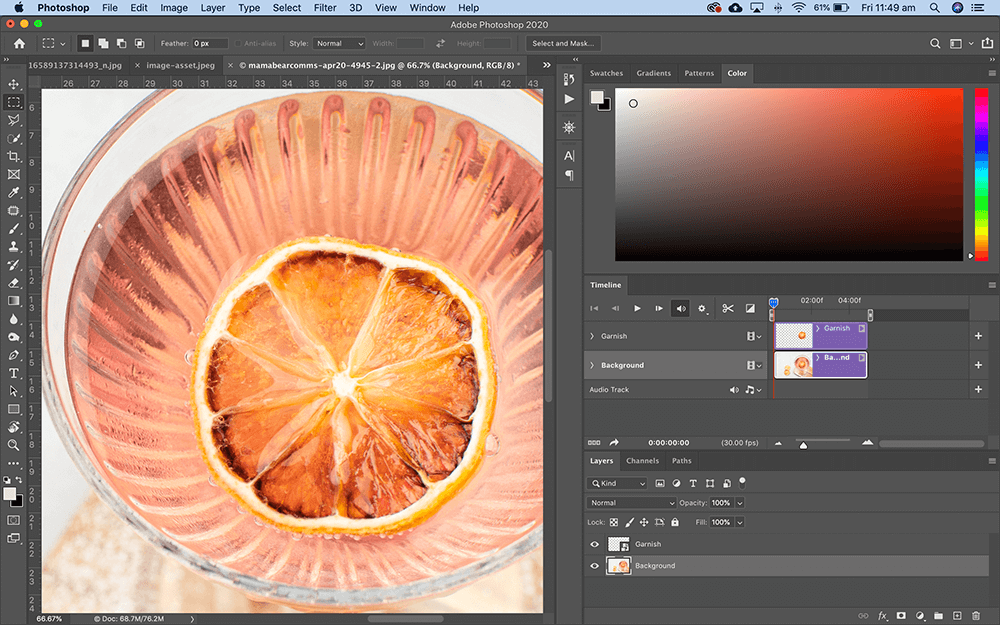
Once you have your timeline you can start to create keyframes for each rotation.
Create your keyframes
On the garnish layer of your timeline click on the diamond icon to the left of Transform to set a keyframe at the start. Next move the slider to the middle and end of your Timeline putting a keyframe in each spot.
Add a rotation effect to your garnish
Select the middle keyframe and Transform your item (Crtl+T) to bring up the bounding box. Right click to bring up a menu, select 'Rotate 180' then hit enter.
Hit the play button or drag the slider to ensure the animation is smooth. Once you are happy with the effect you are ready to render.
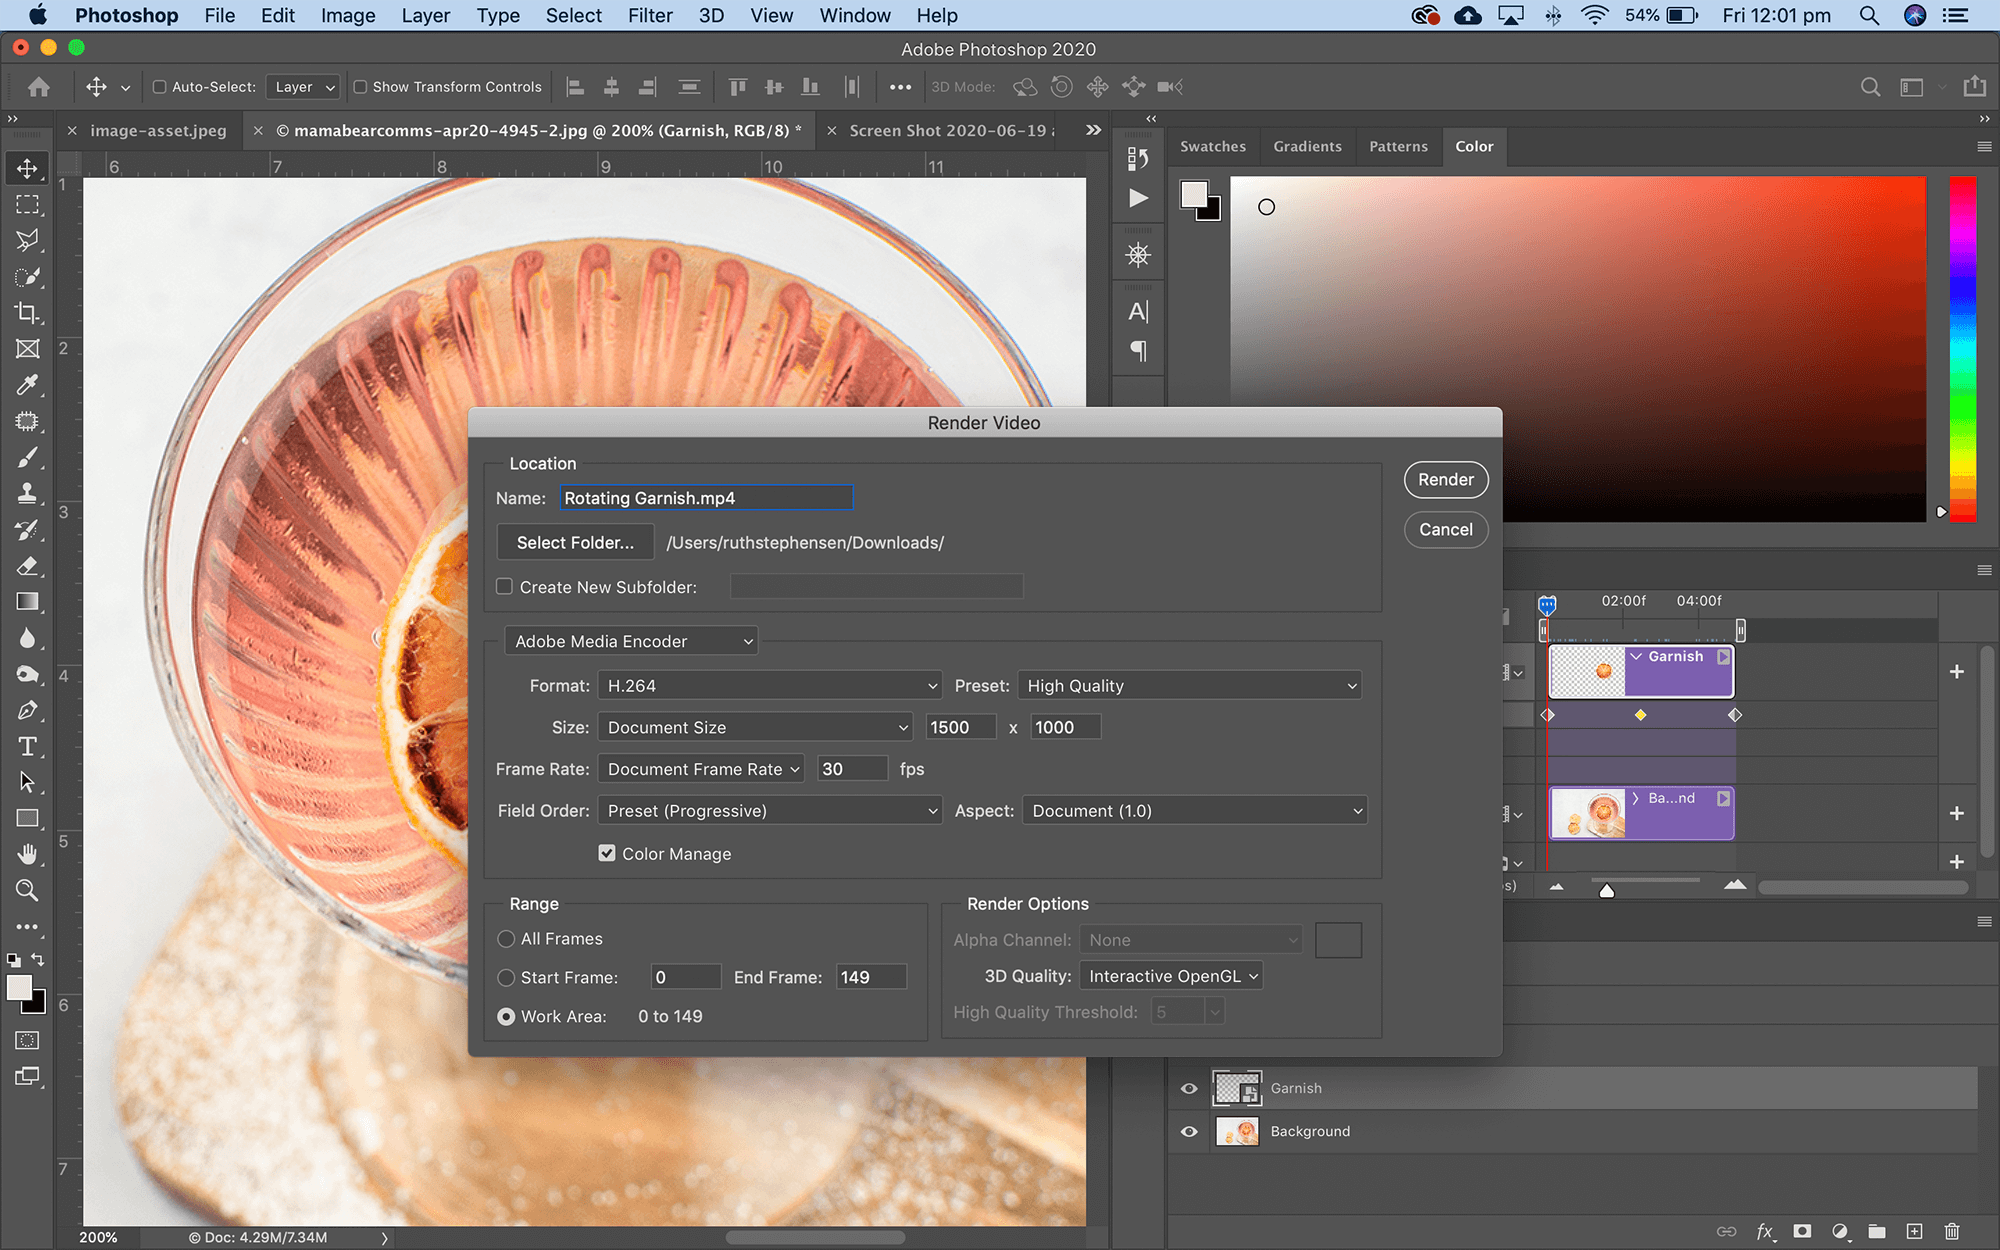
The finished result!
You can slow it down or speed it up by altering the length of your video. A longer time will have a slower rotation effect as it will take more frames to reach the 180 degree mark.


%20(1).png)
%20(1).png)


