How to add dimension to your product photos with shadows
.avif)
.avif)


Adding realistic shadows to products in Photoshop is an easy way to make them appear more three-dimensional and eye-catching. With just a few quick steps, you can give any product image depth and dimension.
Step 1: Import your image/ product
Step 2: Position the product and create a duplicate layer of the product
Step 3: Add a color overlay to the product and use a color that is a darker shade of the background
Step 4: Make sure the shadow layer is behind the product image layer
Step 5: Go to Filter > Blur Gallery > Path Blur
Step 6: Uncheck “Centered Blur” and adjust the path of the shadow
Step 7: Play around with the settings until you have the shadow you like
Step 8: Click OK on the upper right and you are done!
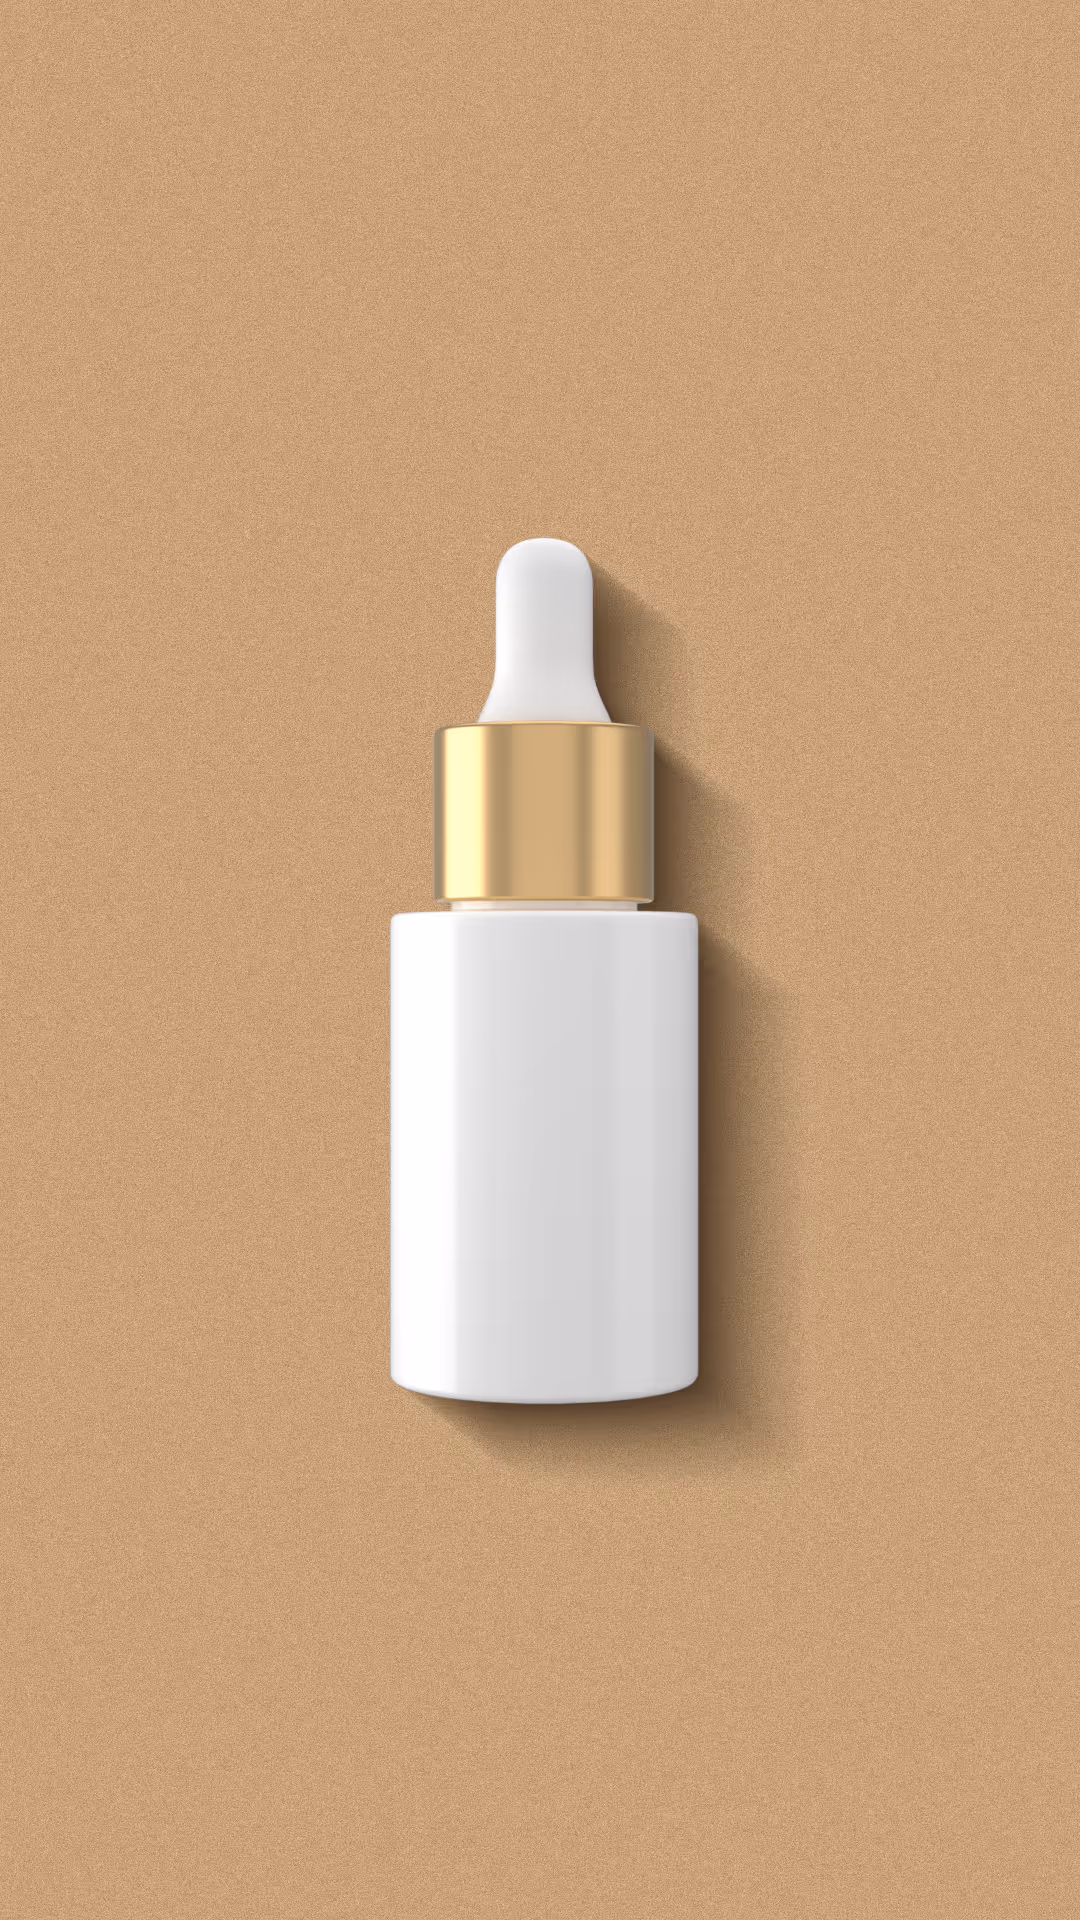
The end result is a quick yet realistic drop shadow effect! This easy Photoshop technique can make products really stand out in just a few minutes.
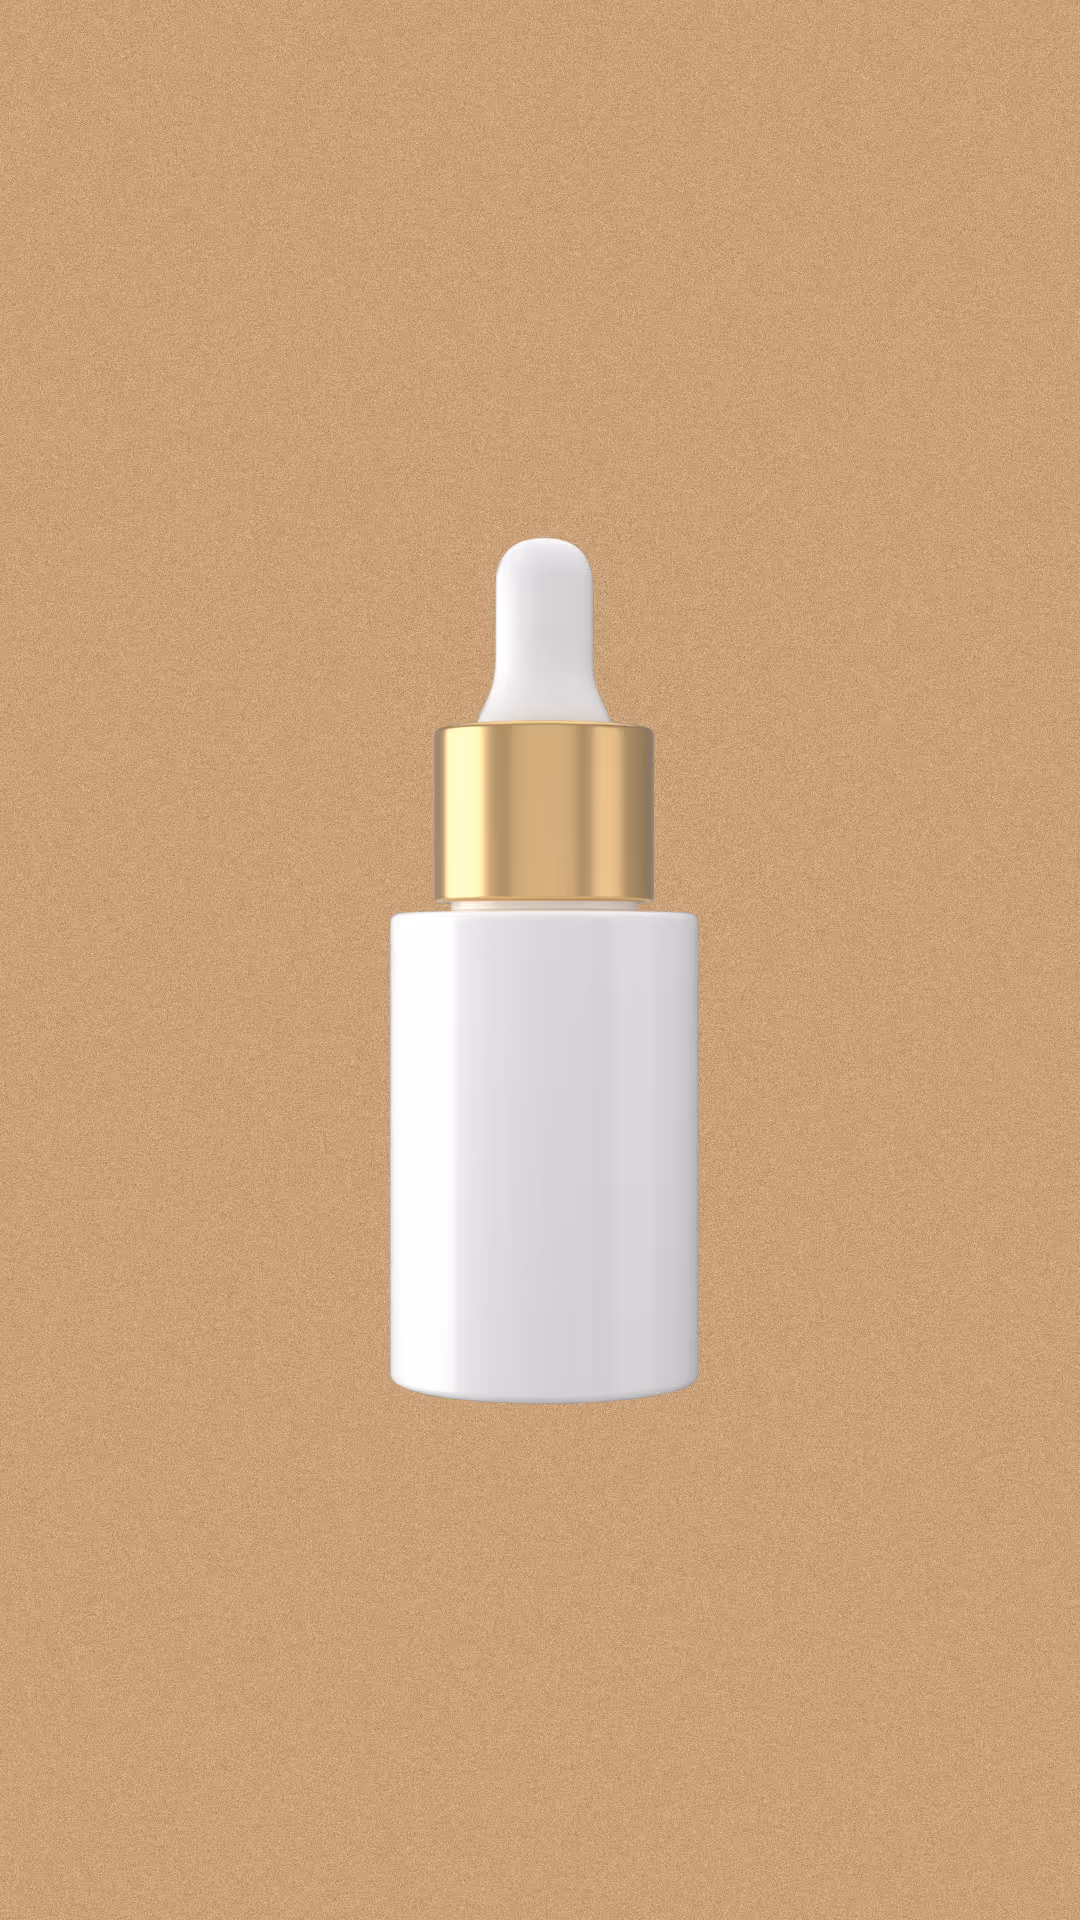
Before
After


%20(1).png)
%20(1).png)


