Create a realistic product reflection in Photoshop

.avif)
Taking polished product photos for commercial use doesn't require you to have multiple backdrops and surfaces on hand. Getting resourceful in post-production can limit the equipment you need and reduce your time on set.
Adding a reflection is an effective way to make your images appear more premium and give the impression of quality. With a bit of Photoshop magic it is simple to create appealing reflections for products shot on any basic coloured backdrop. Creating this effect in post-production means less hassle dealing with reflective surfaces that are prone to collecting fingerprints and dust.
You'll love how simple this technique is, follow along with this tutorial and try it for yourself.
Import and make a selection
Start by importing your image into Photoshop. Using the Object Selection Tool, draw a selection box around the product. The Object Selection Tool automatically selects the object inside the defined region.
Create a copy and flip it
Once the selection of the object has been made, right click anywhere on the object and from the pop-up menu select Layer Via Copy. This will create a new layer with only the object visible. Next, right click and select Flip Vertical. Drag the inverted image and align it with the bottom of the original object.
Apply blur and adjust its opacity
To make the reflection look more realistic, we'll apply some blur to it. To do this, click Filter, then Blur and finally Gaussian Blur. In the pop-up window, adjust the blur radius slider to see what looks best. In this example, a blur radius of 2.2 pixels looked most natural. To add to this step, we'll reduce its opacity by using the opacity slider in the Layers panel.
[#cta]
Blend it
Finally, to make the reflection look even more natural, create a gradual blend of the reflection with the surface. To do this, create a layer mask by clicking on the Add Layer Mask Button at the bottom of the panel. A white layer mask thumbnail will appear revealing everything on that layer. To conceal, select a black brush and simply paint over the bottom of the reflection to create a soft and gradual blend.
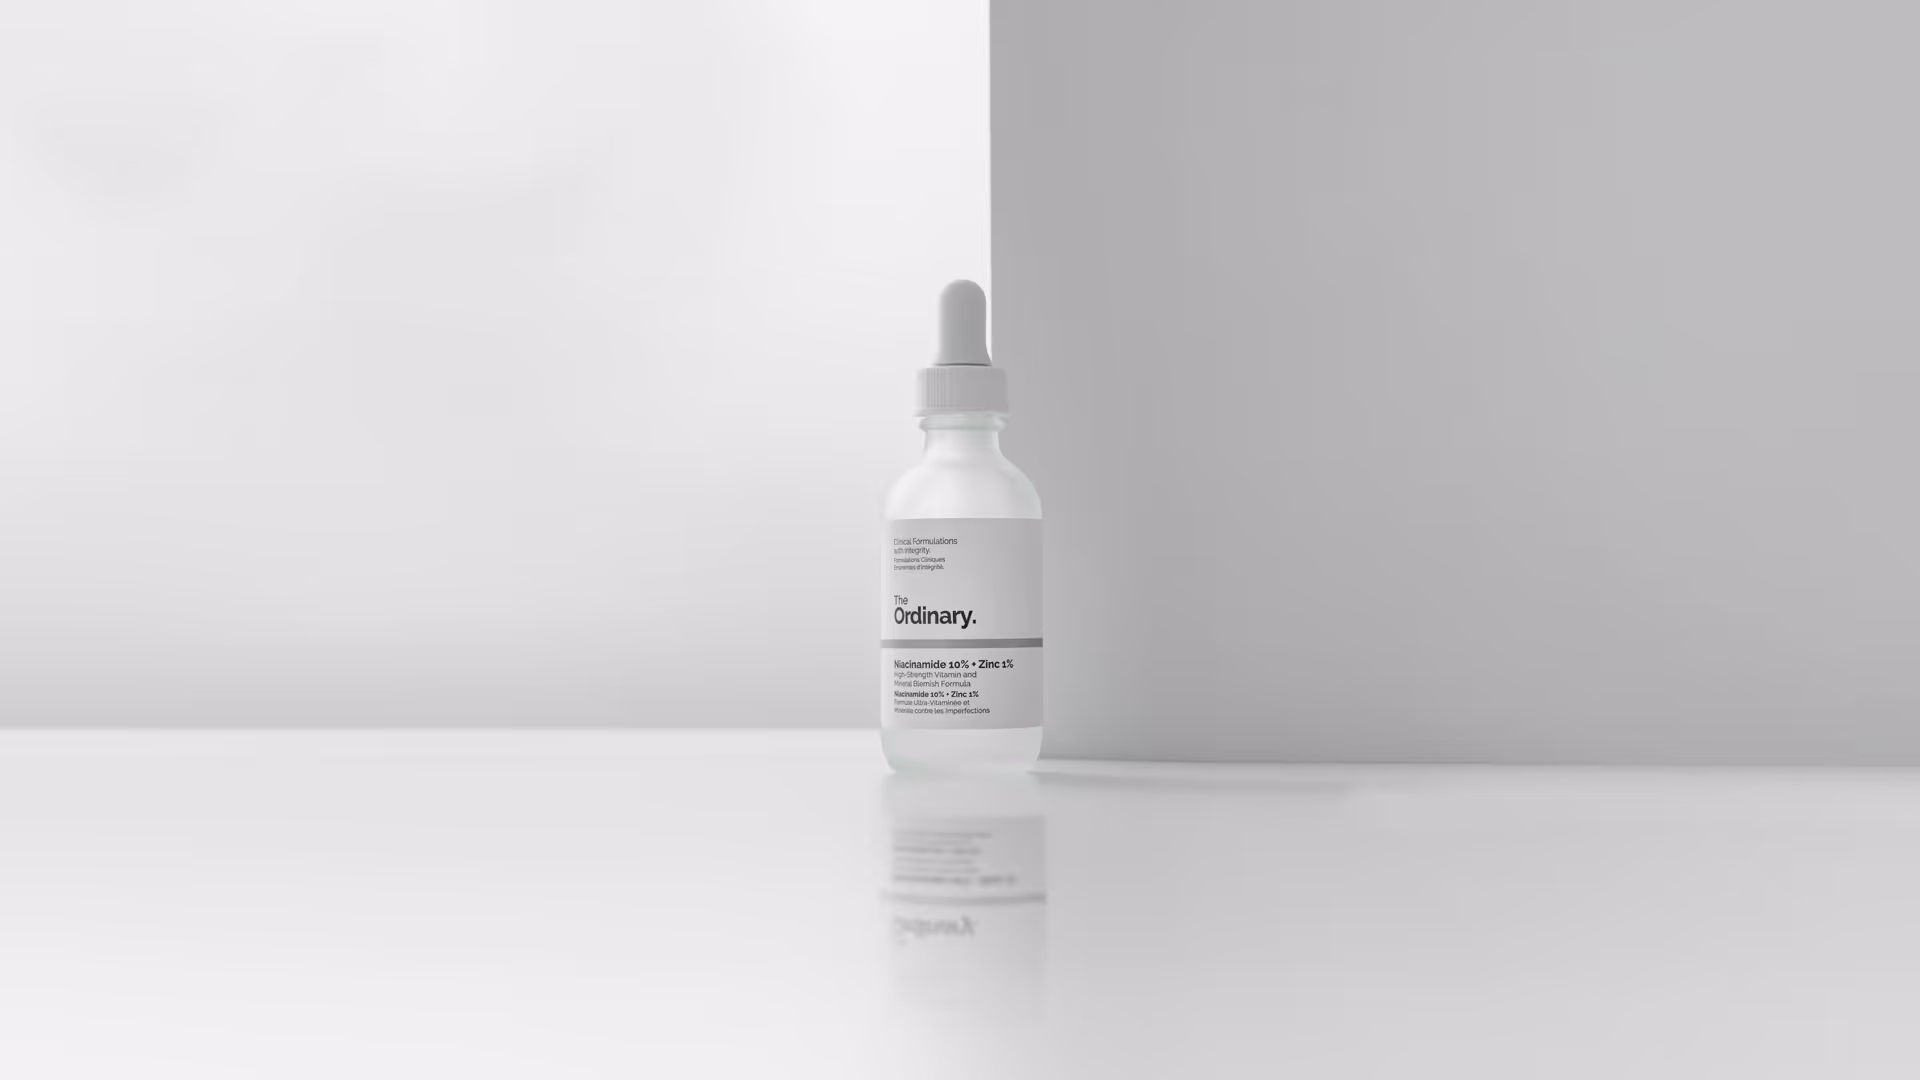
The final effect


%20(1).png)
%20(1).png)


