Create a flawless foundation splash to photograph beauty products like a pro


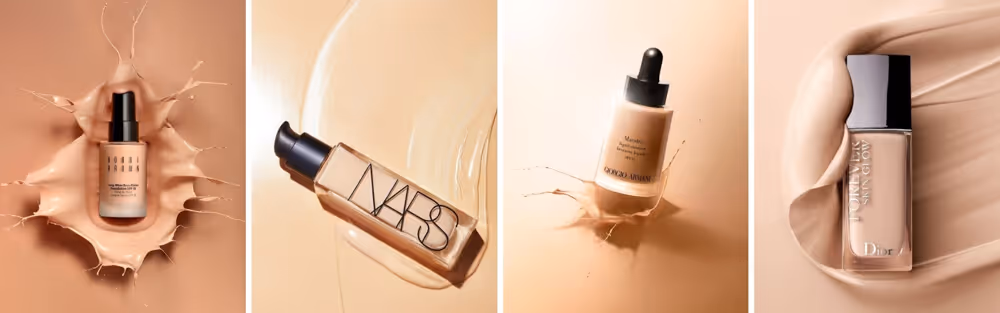
Beauty brands love showing off the tone and texture of their formulations in product imagery. These images are so impactful that our Pinterest inspo boards are filled with sexy texture and splash effects from premium beauty brands like Bobbi Brown, Nars, Dior and Giorgio Armani to name a few.
Being the curious creative types that we are, we found ourselves wondering how do commercial photographers get that rich creamy looking texture without emptying 45 bottles of foundation?
To find out we challenged creative mum-of-two Jemma Johnson to recreate this effect from her dining room table at home - with very impressive results!
Read on to find out exactly how she did it.
Equipment
- Bottle of Foundation - Morphe liquid foundation
- Rectangular plastic container - Jemma used a 11cm deep Tupperware container. It is important to use a container deep enough to drop your product from enough height to get a good splash. If it is too shallow, the bottle will hit the bottom and you’ll see the plastic container in your shot instead of a liquid effect.
- Tripod
- Studio Light - Jemma used a Godox SLW60 continuous light with soft box
- White foam boards (x2) - Used as reflectors
- DSLR - Canon 6D Mark II
- Lens - Canon L series II 24-70mm
- Splash Mat or towels - To place under your container to contain the mess
Creating the 'Foundation'
Jemma experimented a few different solutions to create her 'foundation' liquid.
To get the right consistency Jemma tried various combinations of milk and cream. Milk alone was too thin but when she added whipping cream she was able to get a thicker, creamier consistency.
Achieving a good match in colour was a little trickier, Jemma initially added some different coloured baking gels but in the end found that flavoured milk already had a great tone.

Winning foundation formula combo: 2/3 iced coffee milk drink (for colour likeness) mixed with 1/3 whipping cream (for thickness/consistency)
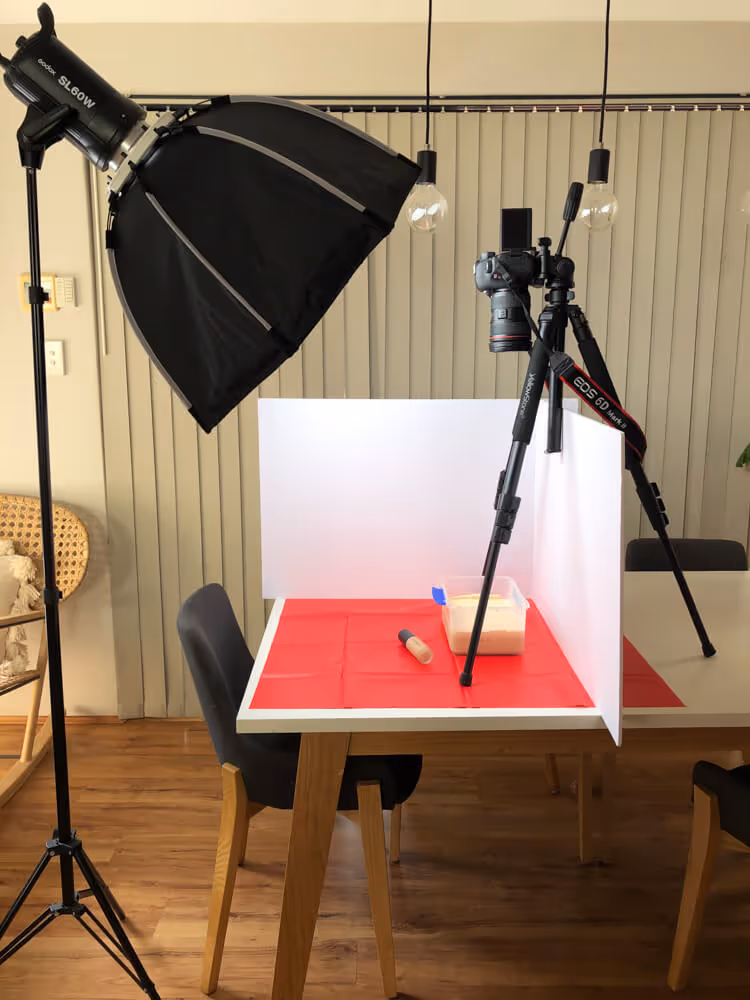
Setting up the shoot
Jemma used her dining room table with a plastic mat to protect it from splashes. She set her plastic container on top, filled 3/4 with the liquid, and placed her tripod on the table with the camera facing down.
As she was shooting indoors, Jemma used her continuous light soft box with two A1 sized foam boards to amplify the available light.
Camera Settings
- ISO: 250 Aperture: f 2.8. Shutter Speed: 1/1250
- Focal Length: 70mm (Canon L series 24-70mm lens)
- Shot mode: Continuous shooting mode
[#cta}
Top tips for capturing the best splash
- Use manual lens focus and set it on the brand label of the foundation bottle when it was slightly submerged just under the surface of the liquid .
- Press the shutter or a remote trigger just before you drop the product into the liquid so that you capture the moment the bottle breaks the surface of the foundation.
- Hold the bottle from approximately 10cm above the container for the best splash effect. Try and centre the bottle in the middle of the container to capture as much of the liquid background as possible.
- Be prepared to have a few attempts before you get the right shot and have the label in centre - it took Jemma around 8 drops to get a good shot.
- It’s important to clean the product well between each shot as it's covered in a thick liquid so keep a cloth or paper towel on hand to wipe it over between shots.

Post Production
Jemma had done a great job matching the colour of the foundation and was able to darken and colour grade it further in Lightroom. She cloned out the container and bubbles and increased the ‘Luminance' slider within the Noise Reduction settings to give the liquid a smoother-looking texture.
.avif)
She also cleaned up some highlights and shine from the bottle to make the label clearer to read and adjusted the curves.
Final Result


%20(1).png)
%20(1).png)


