Changing the backdrop of your image with this easy smartphone edit


While styling a creative photograph we tend to primarily focus on the foreground of our composition, however what is in the background can also have a big impact on the mood and context of your image. Not all of us have access to a wide variety of different coloured and textured backdrops in our home studios or local areas but that shouldn’t limit the creative scope of your photo.
In this tutorial I’m going to show you how to infinitely increase the number of backdrops you have for your images by superimposing new colours and textures underneath your photo. The best part is that you can do it all with your fingertips right from your smartphone! My secret to getting the most realistic results lies in a simple layering technique that will preserve any natural shadows that you had in your original photograph.
Here’s what you’ll need to start:
- A photo of your subject matter with as close to white background as possible
- Photoshop Mix mobile application
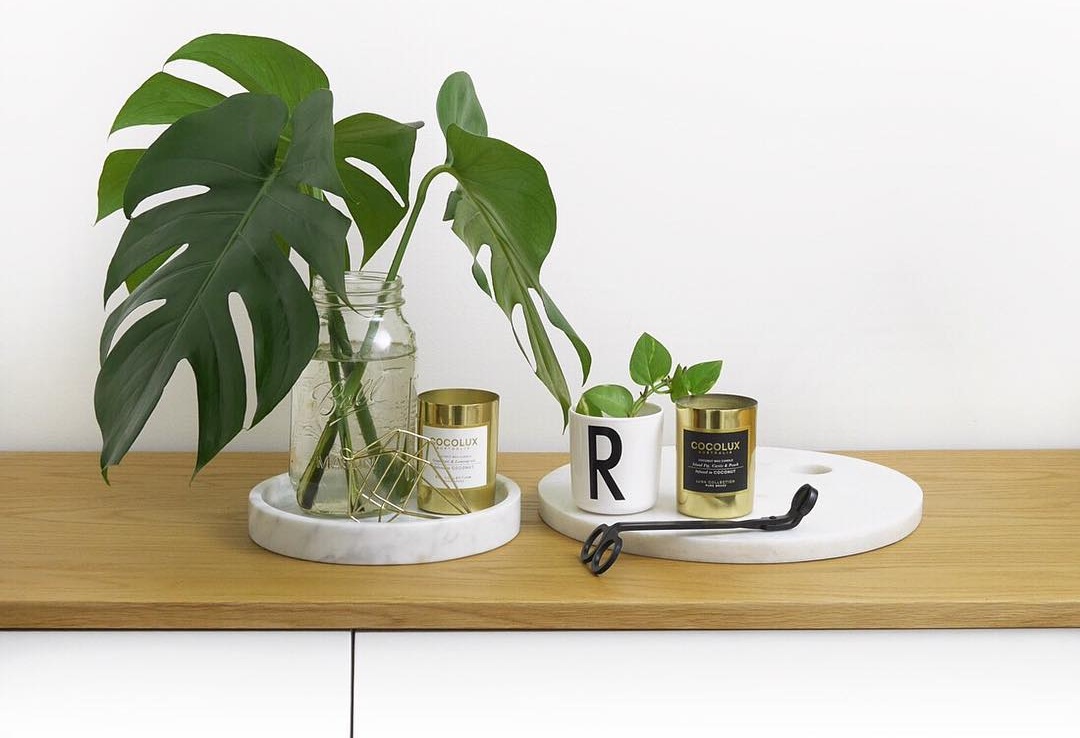
Step 1 - Photograph your subject on a white surface or against a while wall. You will get the best results if you ensure there is a good contrast between your subject matter and the white backdrop.
Step 2 - Edit your image in the app or software of your choice and get the backdrop as close to white as you can. Crop it to how you would like the finished image size and proportions to look as this will form the base of your image.
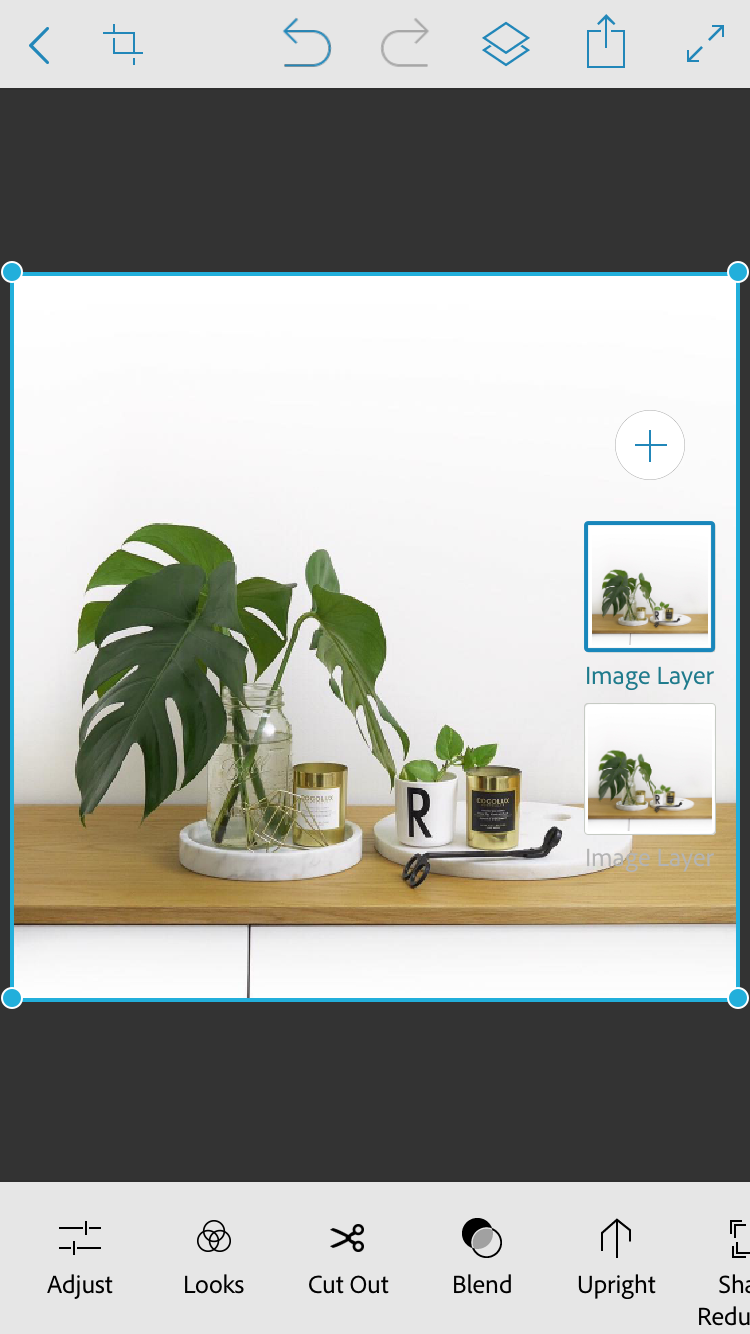
Step 3 - Open your image in Photoshop Mix and hold your finger down on the layer icon and select duplicate to add the same image again over the top.
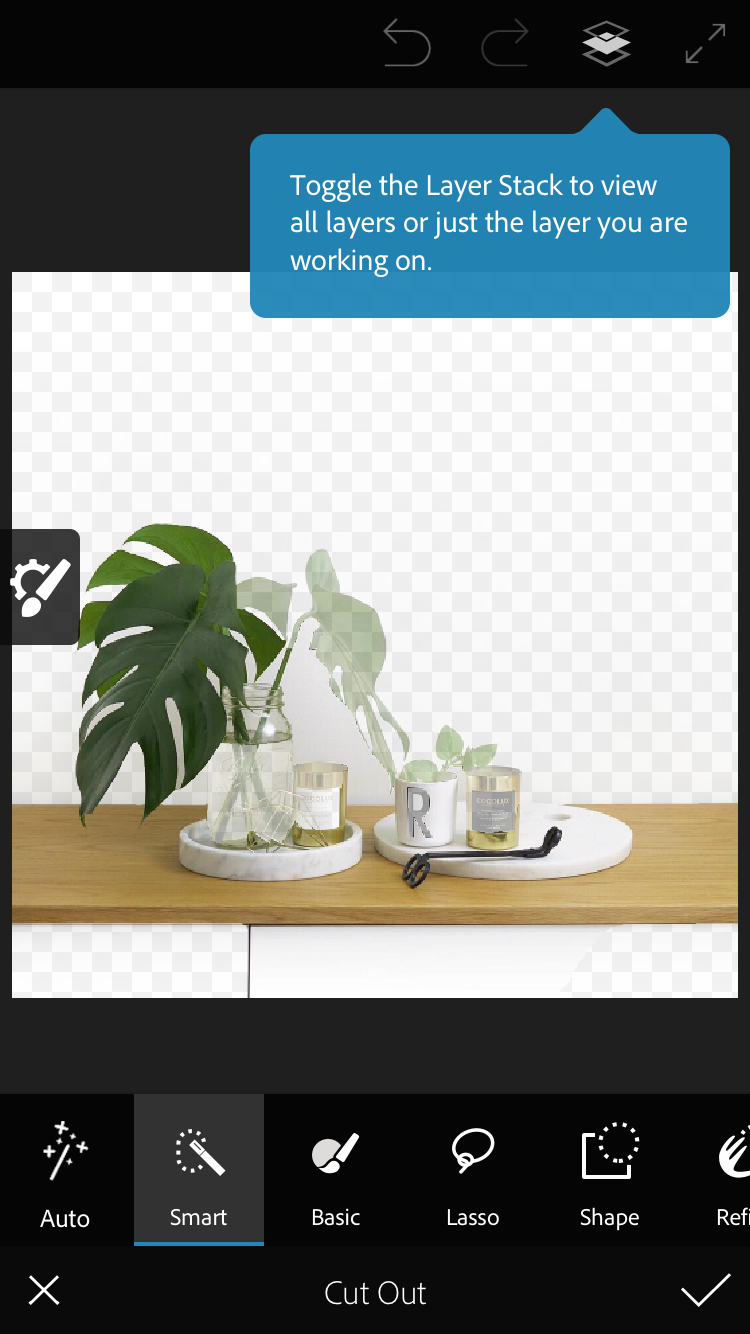
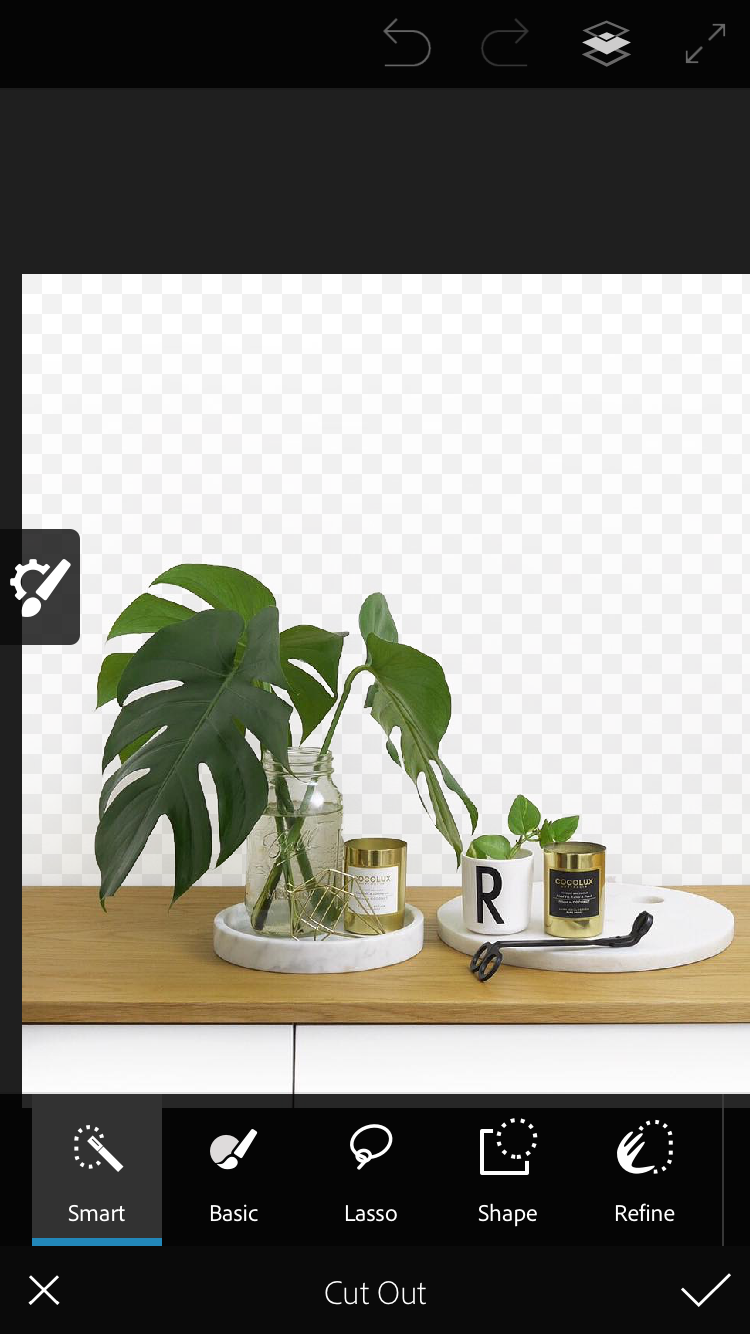
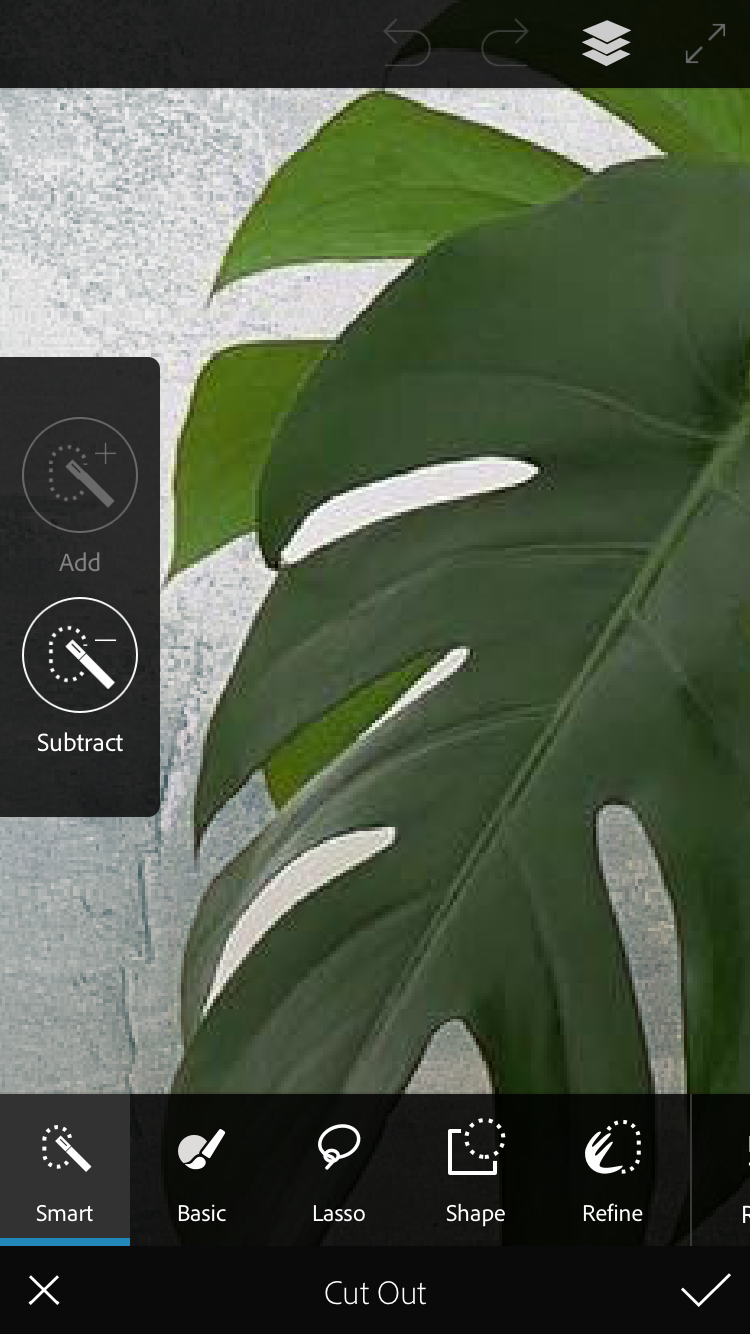
Step 4 - On the top layer, use the cut out tool to select the foreground of your image. It is important that you don’t select the shadows here and only select the subject matter itself.
Tip - Use the Auto tool first to grab most of the image and refine with smart selection tool. You’ll need to zoom right in and alternate between the add and subtract functions to make sure you are only cutting out the foreground of your image
[#cta]
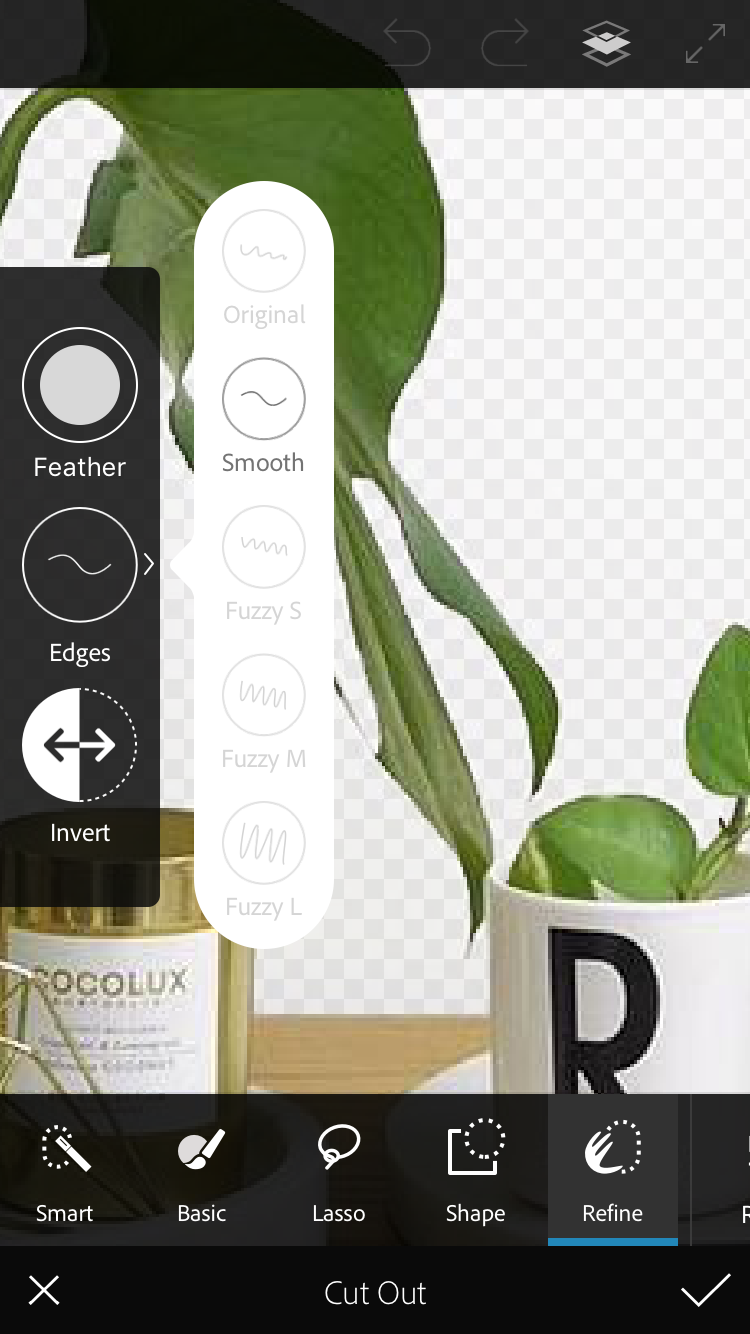
Step 5 - If you have soft or complex edges you can use the refine tool to help you seperate it from the background as best you can.
Tip- Use two fingers to zoom in and out and navigate around your canvas
Step 6 - Now that you have cut out your item it’s time to add your backdrop. You can create a new layer and import the photo or image you would like to use.
Tip - You can search for free backgrounds and wallpapers on Google or download them from free stock image websites like Pixabay or Unsplash.
[#cta]
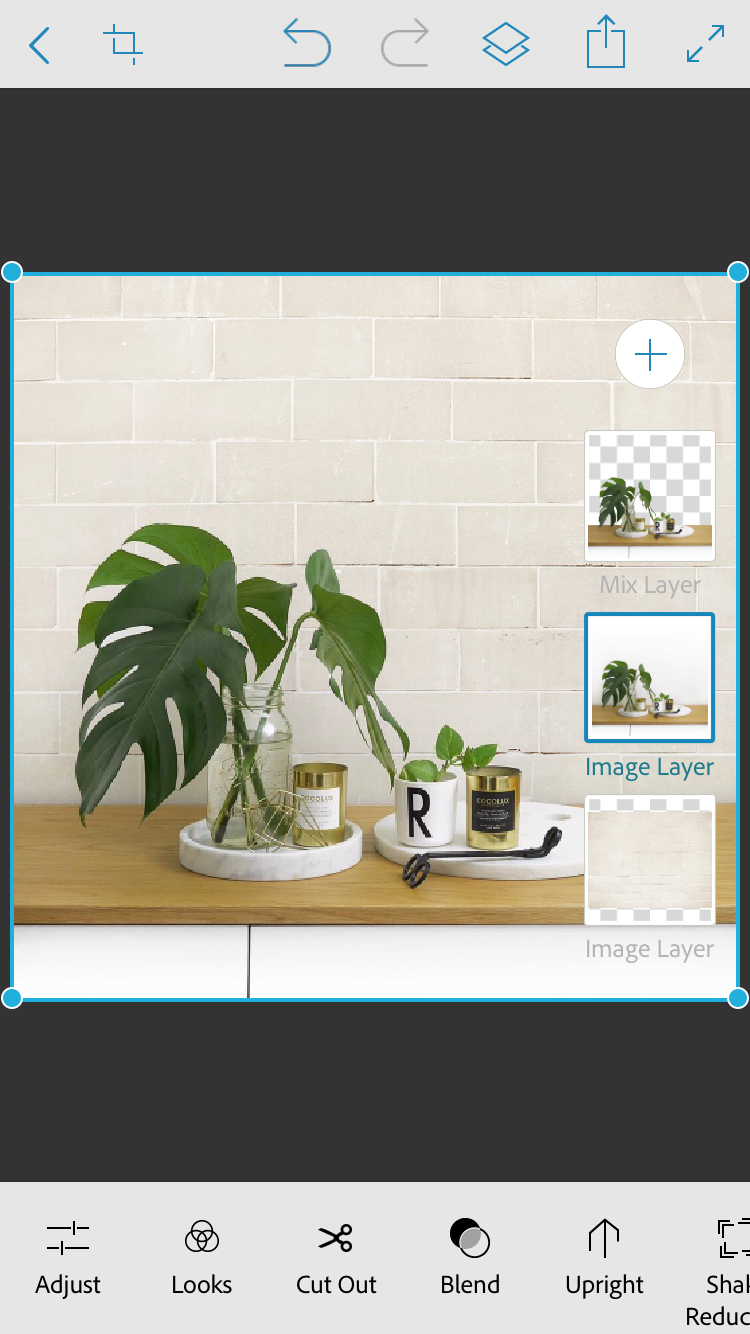
Step 7 - Hold your finger down on the layer thumbnails to change the order of them. Layer your background image to the back and select your duplicate image that hasn’t been cut out yet and layer it next with the cutout on top.
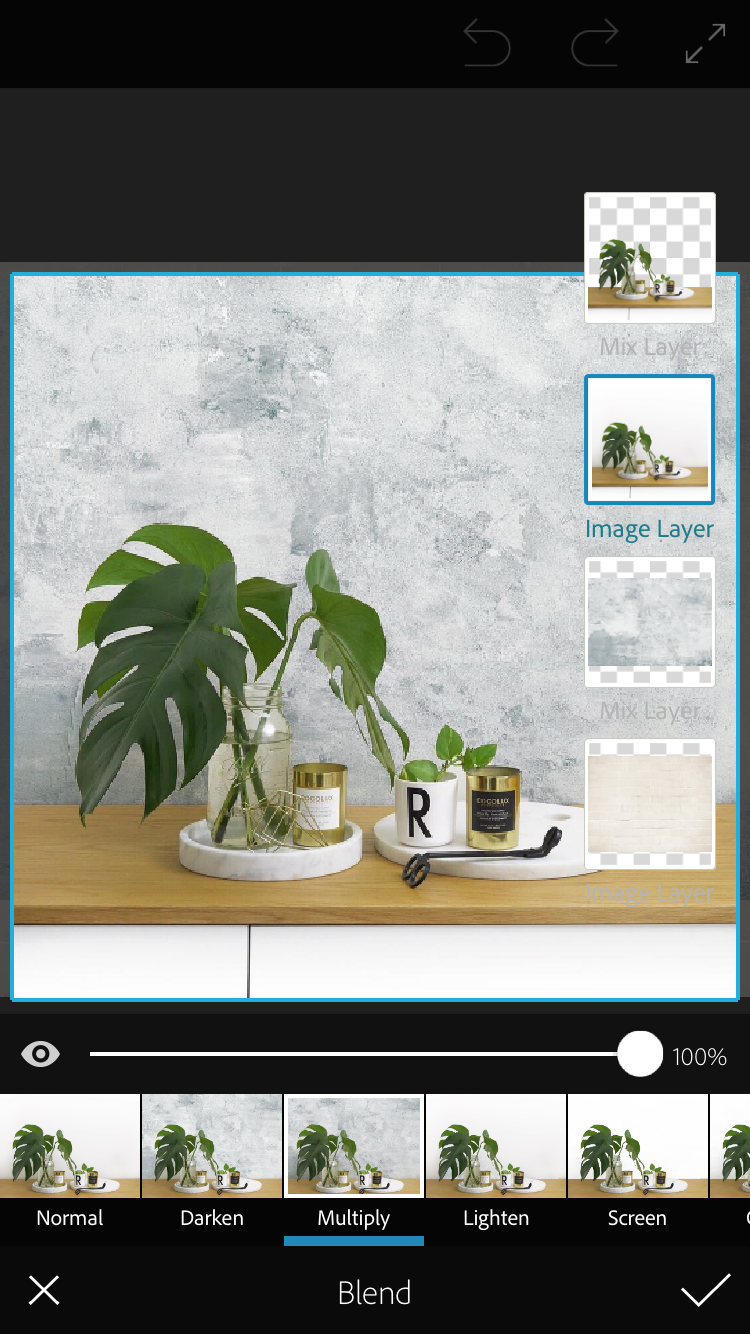
Step 8 - Select your duplicate image and set the blend mode to ‘Multiply’ this will blend the image on top of your backdrop and apply the shadows for the most natural looking results.
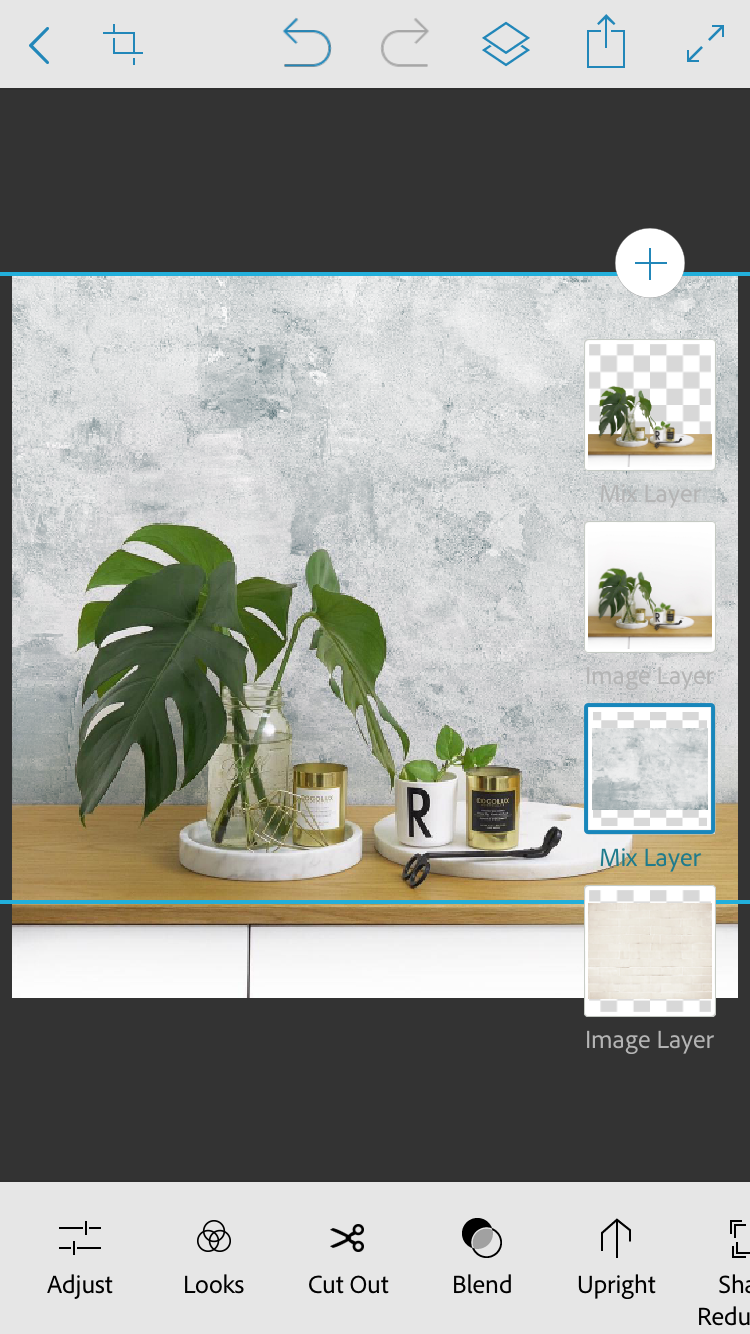
Step 9 - With the new background in place you may discover a couple pieces of your background that didn’t get cut out. The darker your back drop the more obvious the edges may be but you can go back and refine your cutout any time.
Step 10 - Once you are happy with your cut out and background selection you can export and save your image and you are done!


%20(1).png)
%20(1).png)


