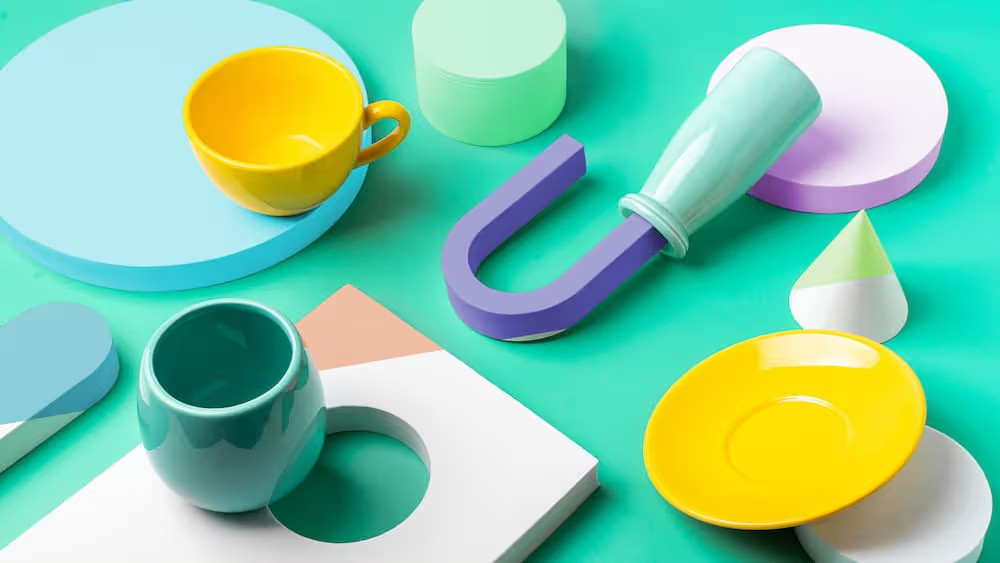
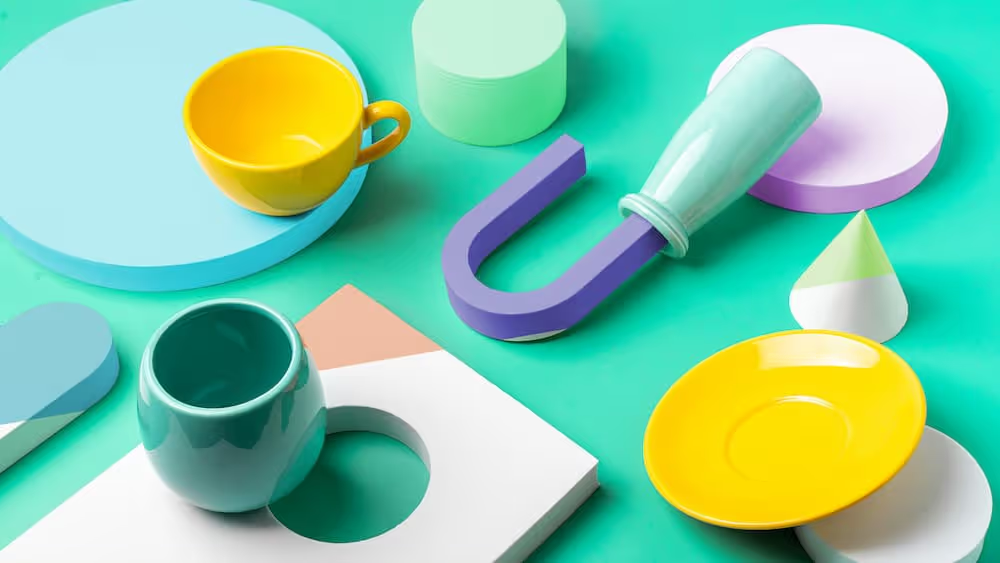
An easy way to turn white into any color in Photoshop

There are many reasons why you might want to change the colour of an object in post-production. You may need to adjust the colour of a product or its packaging or to change the colour of your props to match other items in frame.
With the help of Photoshop, changing one colour to another is pretty simple. However, adding colour to a white object is much more challenging - especially if you want to make it look realistic.
In this tutorial, we'll run you through an easy process on how to turn white objects into natural-looking, vibrant colours by playing with Hue, Saturation, and Lightness. You'll love how simple it is to get extra mileage out of your white props and turn them into any colour you can dream of!

Import and make a selection
Start by importing your image into Photoshop. Using the Quick Selection Tool, paint around any white object. When you choose an area, Photoshop detects and selects the edges so you don't have to trace them manually. This tool works great for photos with high contrast and well-defined edges.
Create a copy and flip it
Once the selection of the object has been made, head to the bottom and select the Hue & Saturation Adjustment Layer. This will create a new adjustment layer with a layer mask automatically created from the selection we made earlier.
In the Hue & Saturation Adjustment Layer, make sure Colorize is selected - this step is key to adding colour to your white objects. Once this is done you can play around with the 3 sliders in this adjustment layer:
- Hue - to select a color
- Saturation - to adjust the intensity of a color
- Lightness - to lighten or darken a color
[#cta]
What if I want to change white to black?
To change a color to pure black, simply set the Saturation to 0 and Lightness to 0. You will see that the object is now pure black and doesn't look natural. To fix this, slowly drag the Lightness to the right. This will introduce some lightness to the black color.
Why do I need to make a selection first?
Our goal is only to change the color of white objects in the image. By making a selection beforehand, it allows us to apply the Hue, Saturation, and Lightness adjustments without affecting other elements or objects around it. Since we have a Layer Mask automatically applied to each adjustment layer, this will help us in filling in or out parts that were not selected by the Quick Selection Tool.
Have fun with the endless possibilities!
With this technique you'll be able to create complementing or contrasting colours in any of your compositions that contain white items. This edit is a clever way to limit the number of props you need on hand because if you just purchase white objects you can later transform them into a myriad of colourful possibilities!


%20(1).png)
%20(1).png)


