A simple technique to smooth out creases and wrinkles on product packaging


One of the many frustrations of working with products is dealing with creases and wrinkles in plastic or foil packaging. Packets that don't look smooth can cheapen the overall look of your photo and be distracting for your viewers.
Fortunately, there's a simple technique you can do to make your product look brand new with some Photoshop wizardry.
Introducing Surface Blur
Surface Blur is one of the many blur options available in Photoshop. Unlike the other blur effects, this filter maintains the edges while reducing and smoothing out the noise and graininess around it. This makes it very useful for items like product packaging where we want text and logos on the packaging to remain sharp.

How to Use Surface Blur
First, import your image into Photoshop then create a duplicate layer of your original image.
By duplicating the original image, you will have a backup in case you mess something up in the process. This allows you to make changes to an image without overwriting the original data.
In this tutorial, we renamed the new duplicated layer to Surface Blur so it's easier to identify if we have many adjustment layers later on.
Apply the Surface Blur Filter
To apply the filter, select Filter > Blur > Surface Blur. When the Surface Blur adjustment box pops up, you will see the filter has 2 adjustment sliders. The Radius slider determines the size of the blur effect while the Threshold slider controls the tonal values that get blurred. Adjust the sliders until you see the creases from the packaging disappear. Click OK to apply this filter - it usually takes a few extra seconds to complete.
[#cta]
Fix only the creases
If the Surface Blur Filter has affected a huge part of the image, you can apply a Layer Mask to the Surface Blur layer to make the filter only target the creases on the packaging. To do this, simply click on the Add Layer Mask icon at the bottom of the layers panel, invert it to a black layer mask so it hides the Surface Blur layer by pressing (Win: CTRL + I) or (Mac: CMD + I) on the keyboard. Now, select a white brush and brush only on the creases.
To make sure you haven't missed any areas, in the Layers panel, (Win: Alt+Shift+Click ) or (Mac: Option+Shift+Click) directly on the layer mask thumbnail. This displays just the mask by itself, and any areas on the image that appear in red aren't affected by the Surface Blur filter.
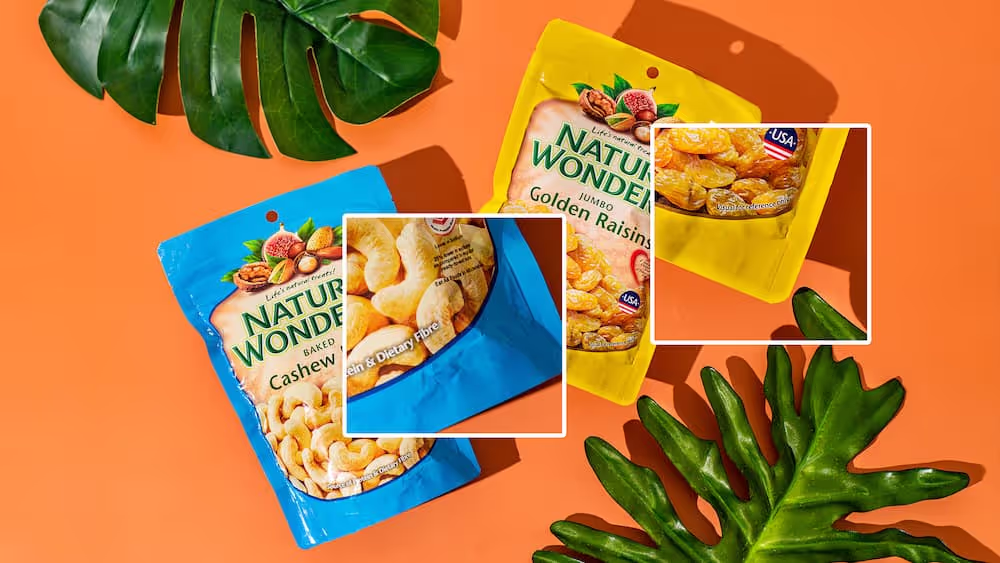
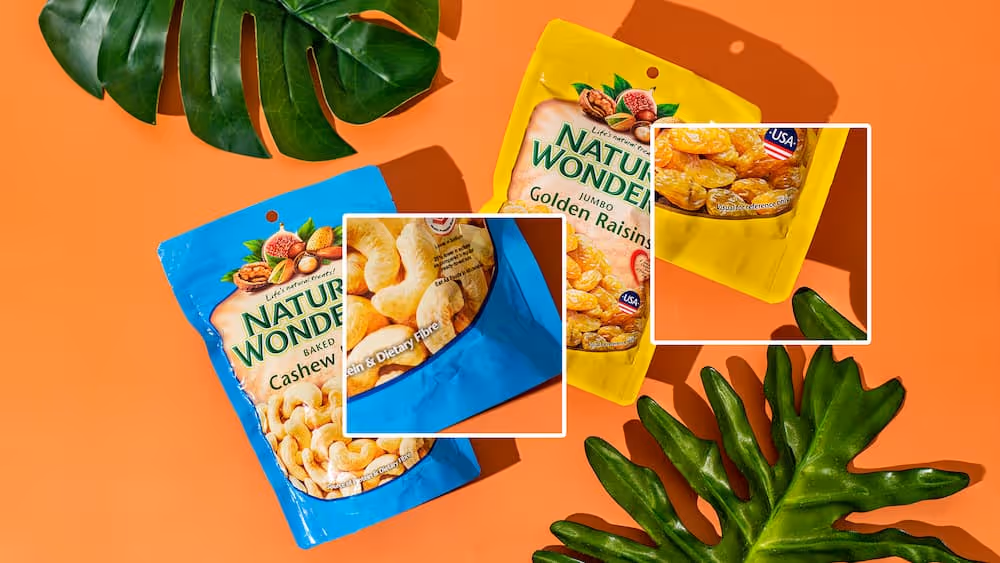
Before & after
In few simple steps, you can easily see that huge difference in the packaging. The Surface Blur Filter has made the creases and wrinkles more smooth and subtle.


%20(1).png)
%20(1).png)


