12 ideas for creating bespoke photography backdrops on a budget


If you are just getting started on your photography journey, or are looking to create some one-of-a-kind pieces to use in your work, creating your own custom backdrops can give you a leg up on the competition. Not only is taking a DIY approach a cost-effective exercise, it also gives you more creative control over the end result.
With a little resourcefulness you can salvage unused items or head to your local hardware store to grab all the materials you need to create bespoke backdrops for your next project.
Fortunately with some creativity, a random raid in your garage, or a quick run to a local hardware or craft store, you can create your own photography backdrops on a budget!
Luckily the magic combination of resourcefulness and creativity flourishes in our community and thanks to their amazing contributions we have rounded up our favourite DIY backdrop ideas into one handy post. Are you ready to be inspired?
1. Stick-on tile decals
Sourcing unique vintage tiles can be a difficult and expensive exercise. It was this challenge that lead to Katya Ozler discovering a simple substitute. This DIY option requires you to source some vinyl tile stickers that capture the aesthetic you are after to apply to a board. To give her tiles an authentic, well-worn appearance, Katya has painted on grout between each sticker and used sandpaper to file it down. The end result is a realistic, vintage look using materials that can be found in many home and hardware stores.


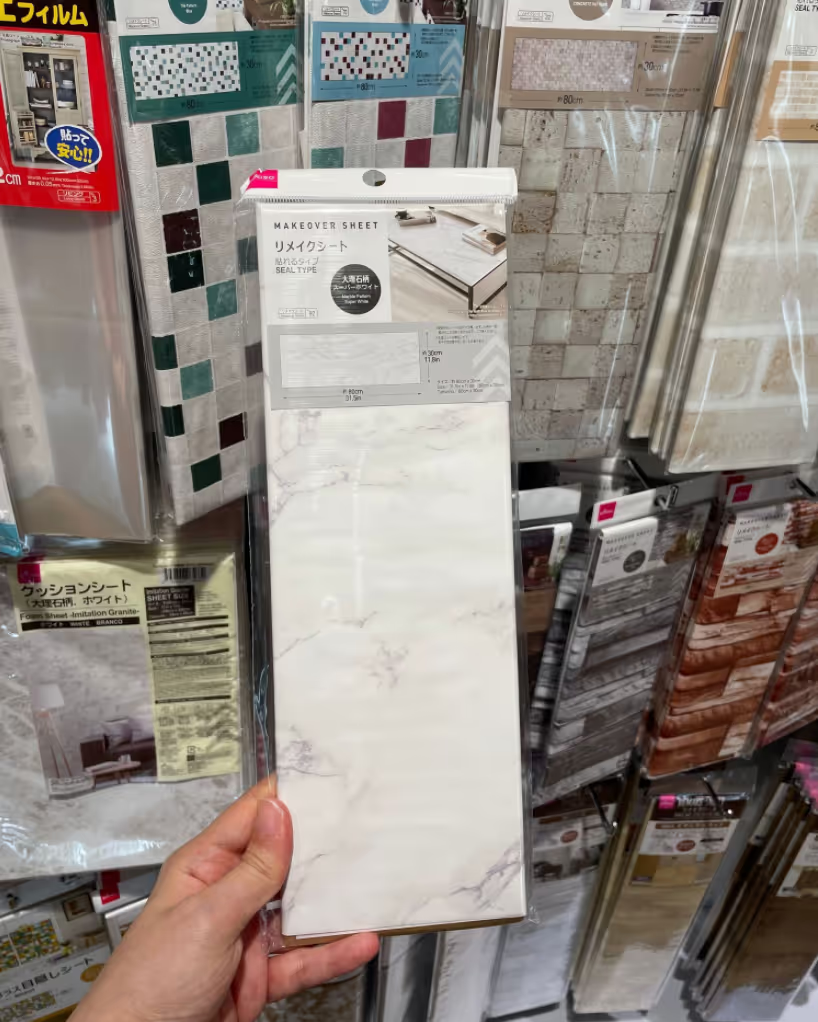
2. Paint a realistic marble effect
Marble bench tops make a beautiful as a backdrop for both food and product photography but not everyone has access to one. Luckily Lynn Clark shows us that anything is possible a little creativity and some basic art supplies. Watch how she creates a realistic looking marble texture using just a feather dipped in calligraphy ink!

3. Create 3D texture with putty
If you love a textured backdrop with thick painterly strokes then you'll love this technique by Arosha Liny. Arosha used joint compound (putty or caulk will work too!) to create texture on a piece of plywood by using a scraper. Then she added colour by rolling on some paint once it was dry. This 3D texture is an effective way to add depth and enhance the aesthetic of your product or food photo.

4. Glue on some tiles or pavers
Another clever custom backdrop idea shared by Arosha Liny is this DIY tiled board. You can achieve this realistic looking backdrop using plywood, small tiles or pavers, and tile cement. After applying the tile cement, simply stick on the tiles and let it dry! This technique could create a myriad of different backdrop effects, from geometric floor or bathroom tiles to outdoor style pavers.

5. Slather on a layer of sand
Want to bring in beach vibes to your product photo? Save yourself the trouble of lugging your equipment to the beach with this handy hack. This background idea by Lynn Clark is so simple and will save you from making a mess with sand on set. All you'll need is to mix PVC glue with sand and layer it onto a board, to make it look even more convincing you can add details such as small pebbles and shells. Want more sand styling ideas?


6. Add a colour pop with paper cutouts
Now here's a super easy and cheap backdrop idea that you must include in your DIY list! Ruth Robinson used a Cricut machine to cut custom shapes for her background, then she simply glued these cutouts to a canvas. If you don't have a cutting machine, you can also cut out your own shapes using adhesive or regular paper and scissors or a craft knife.


[#cta]
7. Create texture with corrugated metal
Salvaged a piece of corrugated metal? You'll be looking at your fence in a whole new light when you see how beautiful this building material can look as a backdrop for your next product shoot. Resourceful creator Karen Baker sourced a small sheet of corrugated metal and spray painted it with a vibrant colour to create a beautifully textured backdrop.
Got more pieces of hardware materials? Work on more DIY projects with these 16 hardware store items you need to create clever DIY photography props.


8. Apply some adhesive vinyl
For some this technique may bring back memories of applying contact to your school books! Adhesive vinyl can be found in many office, discount and homewares stores and comes in a range of colours and textures. It is cheap and lightweight medium that can be applied to both sides of a wooden board - meaning less items to store and more mileage for your prop budget.
The other great thing about vinyl is it makes a quite resilient surface and easy to wipe clean, making them perfect for food styling or anything that could get a bit messy! Joyce Leong has found some great vinyl adhesive at Daiso for $6 making it a very affordable option for DIY. See Joyce's full guide to applying these adhesives in her blog

9. Repurpose some planks and panels
Another handy hardware store secret, you can buy timber boards that already have the look of wooden panels on them for under $20. Additionally you can buy or salvage individual pieces of timber you like and just temporarily line them all up on a flat surface and no one will know the difference!


10. Sponge on some textured paint
This technique is a popular one with all types of creators wanting backdrops with texture and depth. Simply add primer to a wooden board then sponge on paint in varying colours or thickness to create an organic textured effect. Khushboo Soni demonstrates how she creates hers in this handy video.

11. Create a wooden backdrop using half round dowels
Have extra pieces of half round dowels? It’s about time to put them into good use! Nikki got her hands on a little DIY project to create a wooden backdrop perfect for product photography. She used half round dowels and glued them to an MDF sheet - the result is amazing!
Check out this step by step guide in creating a striking DIY battened backdrop for your next photoshoot

12. Make a beautiful opalescent backdrop with a tablecloth
Who would’ve thought that a tablecloth as cheap as $5 can make such beautiful background? Ruth Robinson shared with us this simple and budget-friendly photography backdrop she bought at Walmart. She simply did the final touches using the oil paint feature in Photoshop to give it a more velvety, smooth texture.


As you can see, many of these DIY options require a base board to work from. We recommend buying cheap wooden plywood or fibre board (often known as MDF) from your local hardware store, these are sturdy and thin making them lightweight and easy to store.
We hope these ideas have helped inspire you with different ways you can create a customised backdrop for your next product shoot.


%20(1).png)
%20(1).png)


